It is possible to use Jitsi’s internal video recorder to record a video of your Jitsi meeting and then download the video to your home computer and or Google Drive account to share with others. Unfortunately, the Jitsi Start Recording button does not appear in Firefox. You will therefore need to use some version of the Google Chrome browser, for example Chromium or Brave. With these browsers, the Start Recording button will appear just above the Live Recording button and just below Security options.
You should definitely practice making short recordings before making the real thing as there are several problems that may crop up. The first problem is that there is a time limit on how long the Jitsi Built in recorder will record. It is about 90 minutes. So if your class runs longer than that, you will need to stop the video and download it and start a new video.
The second problem is screen sharing. The recording appears to be limited to recording just the main Jitsi screen. If you try to share a different screen or switch between shared screens, the recording will turn itself off without warning.
The third problem is that the Jitsi video recorder does not offer a way to precisely control the width to height ratio of the recording. Ideally, we want the video to be a 16 wide by 9 high ratio to display on YouTube, Rumble and or other video sharing platforms.
The fourth problem is that to actually download the video, you first need to click on Stop Recording. A popup will appear where you can choose the folder in your file manager where you want to save the video. Currently, the video will only save as a WebM video. While this format can be converted to an MP4 format if needed, it is still a hassle and may result in a lower quality video or increased file size.
I am therefore not a fan of the built in Jitsi recording system because it takes your focus as a teacher away from what you are teaching and because you can not record different windows such as viewing a Writer document, then watching a YouTube video. I also do not like the extremely loud announcement that a video is being recorded which always occurs at the beginning of each recorded video.
Also I often teach courses in a two hour block so 90 minute time limit may not work. Finally, I think it is more practical to simply record an MP4 video in the first place. Both the sound quality and file size should be better. This is especially true if you want to directly upload class videos to a course YouTube channel for students and parents to review later.
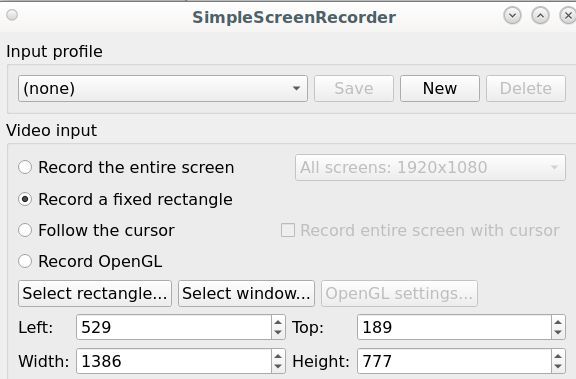
I therefore recommend using an independent free open source video screen recording program called Simple Screen Recorder or SSR instead of the Jitsi built in tool. If you are using a Linux laptop, you can download Simple Screen Recorder from the Software Center. You can then set it up to record a fixed area on your laptop.
Below SSR is set to record a specific rectangle which is 1386 pixels wide by 777 pixels high. This results in a screen ratio of 16 by 9 or 1.78.
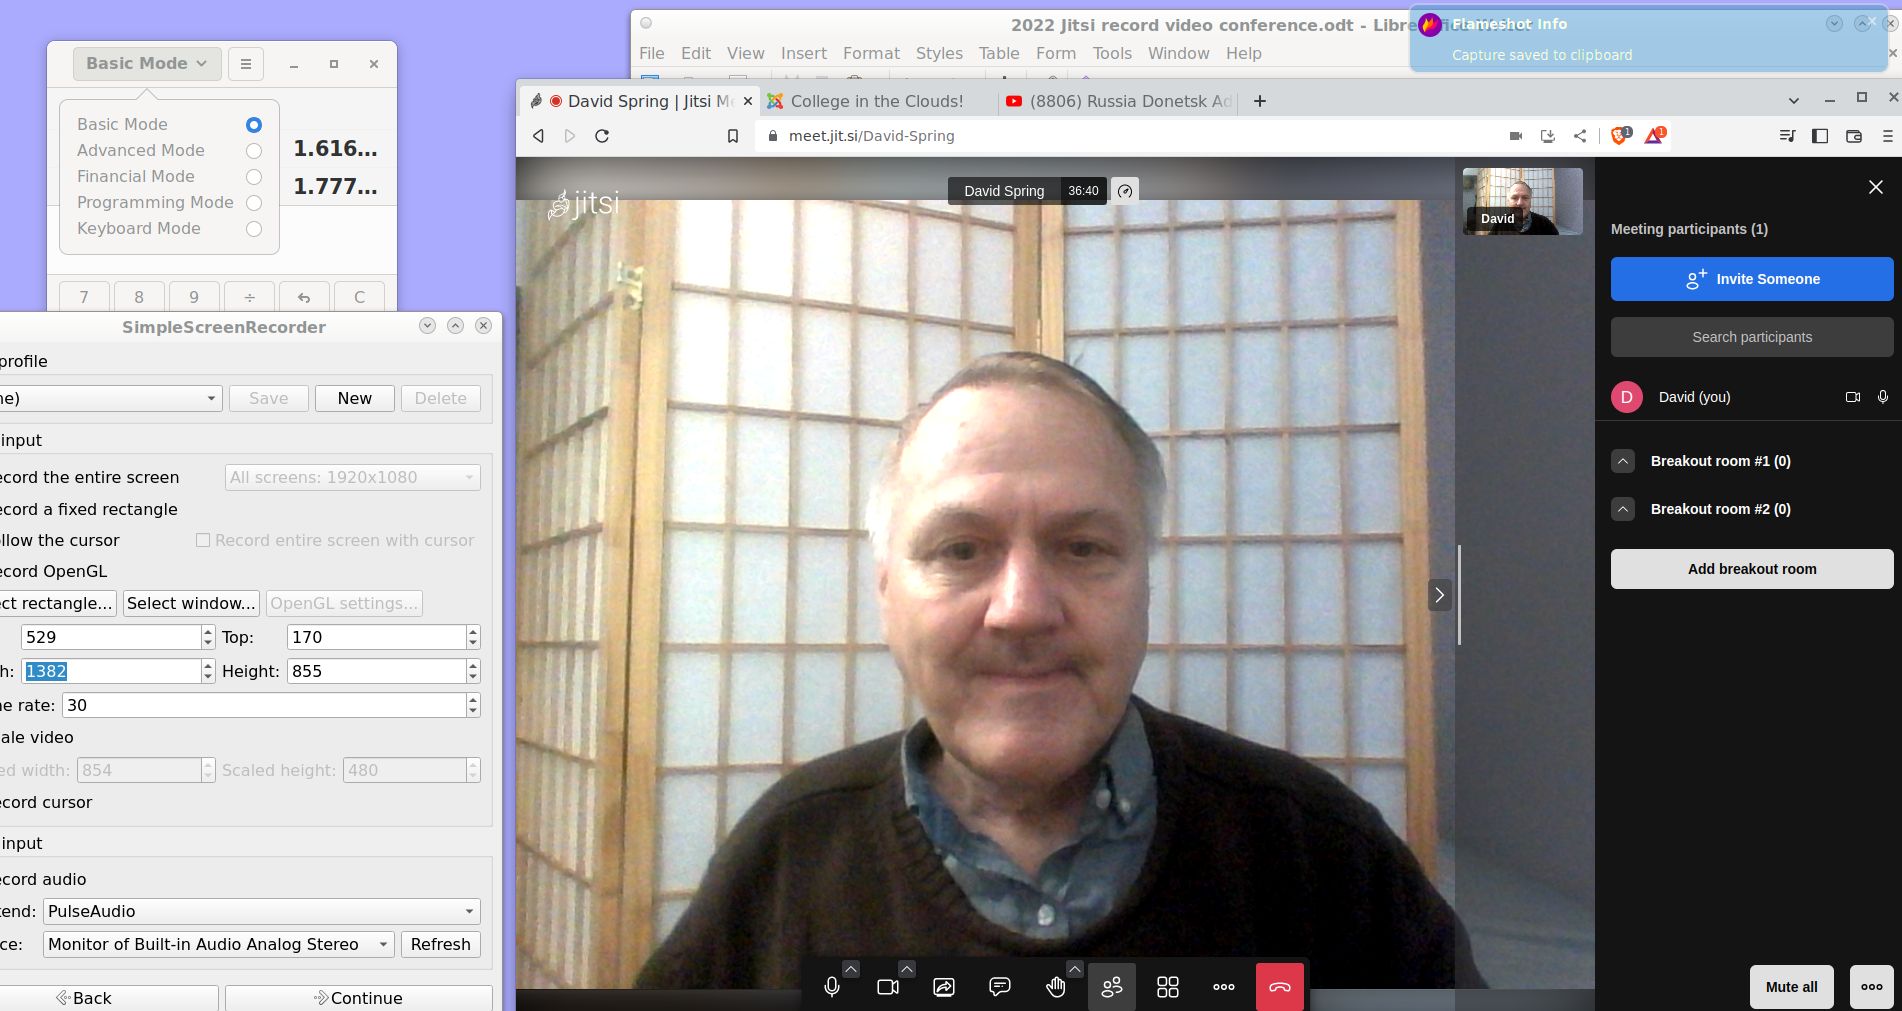
I set it up so that by Jitsi video conference is in a web browser that takes up about two thirds of my laptop screen. This allows me to use the other third of my laptop to see the SSR control window.
I have provided complete instructions on how to use Simple Screen Recorder at this link:
https://createasecurewebsite.com/final-steps/8-site-promotion/8-2-create-edit-and-post-informational-videos
When choosing the screen width and height, try to set it for a ratio of about 16 to 9 or 1.78 to 1 as this is the best ratio for a YouTube video. If using a Writer document, have it open and behind the Jitsi browser window. If also watching a YouTube video – or referring to another website or web page, have these open in another tab in the same browser as the Jitsi video conference. Set the Desktop background for a solid color and open a calculator above the Simple Screen recorder window to check the selected rectangle ratio. Set your laptop on a small stand so that your eyes are about the same level as your laptop camera rather than looking down at your laptop camera.
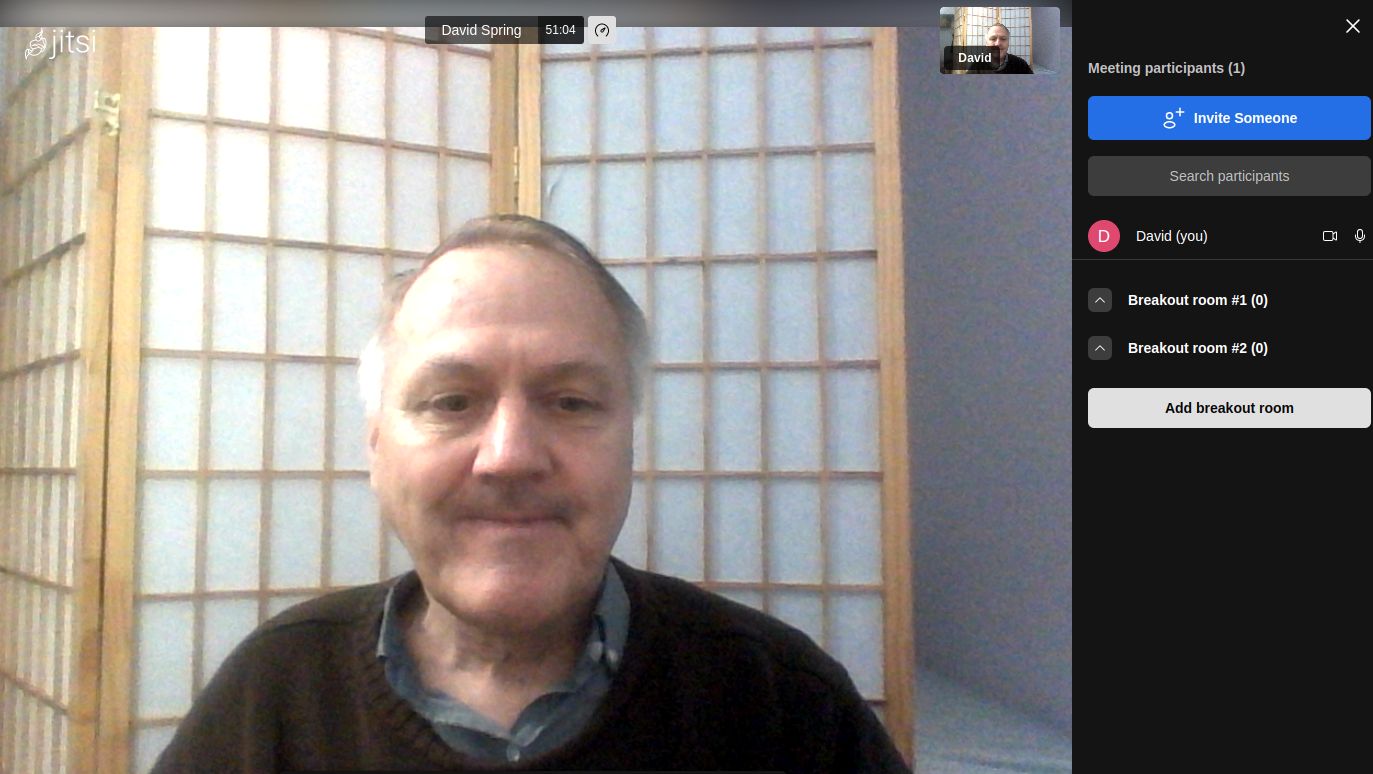
Here is my complete desktop just before starting the video recording. Note that the Simple Screen Recorder window is on the left and the Writer document window is just above and behind the Jitsi browser window and I am ready to switch to either a website tab or YouTube video tab:
Practice switching back and forth between the Jitsi window and the Writer window.
My initial Select Rectangle was 1382 by 855 which is 1.6. So my height needs to be less. Crop off the bottom half inch with the second guess as this will help hide the video controls at the bottom of the Jitsi screen. My second try was 1367 by 775 which was 1.76. I reduced the height of the web browser slightly and tried again. My final try was 1386 by 777 which was 1.78. Here is this screen shot:
Change the sound option to Built in analog stereo which will hopefully pick up the student voices. Then click Continue. Change the container to MP4 and name the video test1. Then click Continue. We are now ready to start the video conference. Then start the Jitsi conference and explain to students that the recording will begin in a moment. Once all students have arrived and are in their proper places, click Start Video in the SSR control panel.
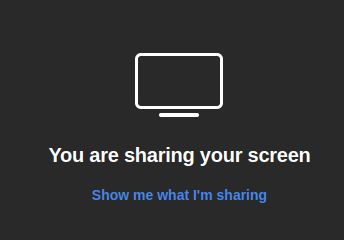
Practice sending students to and from Breakout rooms. Also practice sharing documents and videos. Keep in mind that whatever is shown on the desktop rectangle is what will be recorded. It is helpful to also share this in the video conference. After you start sharing a screen, select the box in Jitsi (it looks like a new participant) and then click Show me what I am sharing:
To remove the shared screen, click on Stop Sharing. This places the moderator back in the main screen where you can share another screen if you wish. Students can also share their screens and as long as their screen appears in the main Jitsi box, student screens will be shared. If you want to record a breakout room, the moderator needs to go to that Breakout room to record it. When the video conference is over, stop the video with the SSR control panel which will automatically save the video to your home file manager.
Optional… Edit the video before posting it
If you need to crop any sections out of the video, that can be down with a free open source video editor called Open Shot – which I also explain how to use in this article.
https://createasecurewebsite.com/final-steps/8-site-promotion/8-2-create-edit-and-post-informational-videos
Practice to set the sound volume
In general, Simple Screen Recorder is very easy to use. The biggest problem you are likely to run into is that students voices may not be loud enough. Make sure your speaker volume is set to at least 100 percent before starting the recording. The instructor voice volume is set in Settings, Sound where it can be adjusted up or down. You also need to set the sound source in the first screen of Simple Screen Recorder for the actual microphone rather than for the monitor of the microphone. Ideally, the room you are recording in should also be as quiet as possible to avoid picking up background sounds.