In this article, we will review how to use a free Linux program called Virtual Machine Manager to install and use Windows based programs such as Microsoft Office in Linux Debian. Folks are usually shocked to learn that not only can Libre Office open and manage MS Word documents but Linux can open and manage MS Windows programs.
However, before we begin, I want to point out several important facts. The first is that it is almost NEVER necessary to use Windows programs for anything. There is almost always a Linux equivalent program that is FREE, easier to use and has more features and benefits. For example, there are many Linux graphical editors that are much better and easier to use than extremely over-priced Windows programs such as Adobe Photoshop. You simply need to take a little time to research your options and be willing to learn new ways of doing things. I personally have not used any Windows programs in more than 10 years – despite the fact that I have written more than ten 400 page books and edited thousands of images and hundreds of videos.
Second, over time, the Windows operating system (and Windows programs) has gone from being malware capable of destroying your computer – to being so evil that it is capable of destroying our entire economy. As just one example of this, Windows Ransomware now costs business owners hundreds of billions of dollars every year. This cost has driven thousands of companies out of business and forced others to increase their prices – passing the cost of Windows hackers onto all of the rest of us – whether we use Windows programs or not. So you really need to ask yourself whether you are morally willing to continue to use an operating system and programs that are this evil.
Do you really want to support a system that destroys our economy, costs jobs and prevents families from feeding their kids and paying their rent?
Third, there are many hidden dangers of continuing to use Windows programs even if you use those programs inside of Linux. As just one example, a person recently told me they need to use Excel because they had a file that used some Macros and the Macros were not being recognized by Libre Calc (the Libre Office equivalent of MS Office Excel). For those who do not know what Macros are, they are small hidden programs called scripts that automate certain repetitive tasks in programs such as Excel. However, even if they are not malware, many macros are poorly written and introduce hidden data errors in complex spreadsheets.

One reason Macros may not work in Libre Calc is that by default Macros are turning off in Libre Office while they are turned on in MS Office. The reason Libre Office turns Macros off is that hackers often use Macros to take over and destroy Windows computers. Macros are one of the worst forms of malware. In recognition of this fact, in late 2021, Microsoft finally announced that they would disable Macros by default beginning in 2022. Of course, this does not already help if your spreadsheets are already invested with Macros. Note that you can enable Macros in Libre Office and they should work in Libre Calc about the same that they work in MS Excel. You do not even need to convert your Excels files to Libre Calc spreadsheets. Even unconverted MS spreadsheets with Macros should work in Libre Calc.
But instead of using Macros, there are now much better ways of imputing, processing and storing massive amounts of data. One is setting up a secure Joomla Database driven website with form data entered into a database. Even the best Excel spreadsheet is only two dimensional. But a database is multi-dimensional, allowing data interactions and processing that is not possible with a simple two dimensional spreadsheet.
Finally, the last problem of using any Windows programs is that they are becoming increasingly more evil over time. Windows and MS Office programs are increasingly turning into spy ware that locks its users into a virtual prison. For example, instead of giving users the option of using a simple traditional BIOS (the program that runs before Windows and right after your turn the power on your computer), Window 11 now will not permit a BIOS option. It will force you to use a program called UEFI that allows hackers to easily remotely control your computer without you even knowing about it.
In addition, Windows 11 requires at least 8 to 16 GB of RAM – something most older computers do not have. Windows 11 also requires a much faster processor – and requires at least 60 GB of space on the hard drive In short, Windows 11 is a bloated monster. By contrast, Linux Debian will work on two GB of RAM, 20 GB on the hard drive and almost any 64 bit processor. My estimate is that about 90 percent of the world’s existing computers will be forced to the dumpster if folks continue their Windows addiction. Now is the time to transition to Linux programs if you want to continue using your existing computer.
Every Rule has its Exceptions
Now that we have a better understanding of the severe drawbacks of using Windows programs, I need to admit that there are some occasions when a Linux computer may not be able to do what you need done. This recently happened to me. The problem was that I needed to use an Ebook that sadly was only available as an Amazon Kindle Ebook. I needed a way to convert this Ebook to an Epub Ebook and or a PDF book so I could copy some of the text in the book into a course I am creating. Kindle does not allow copy pasting text. However converting Kindle to Epub or PDF was not possible on Linux because the conversion programs were only written for the Windows operating system. This article explains how I solved this problem – creating a secure way to run Windows programs in Linux.
Why I No Longer Recommend Play On Linux
Play on Linux is a simple Graphical Interface for a more complex Linux program called WINE – which is also known as the Windows Emulator. Historically, Play on Linux could run almost any Windows program on Linux. However, recently, newer versions of Windows programs fail to work on WINE and or Play on Linux. The reason for this is that Microsoft does not want to lose their monopoly. They have therefore created huge and ever-changing obstacles. These obstacles are currently making it very difficult to run Windows programs using the WINE emulator.
The Good News
The Good News is that there has been rapid development in the Linux community of programs for creating Virtual Machines. Virtual Machines are computers in virtual walled off boxes inside of your computer. Virtual machines are typically used to test new versions of Linux operating systems. However, they can also be used to install older versions of Windows operating systems. It has become much easier to set up a virtual machine on a Linux computer. Here we will use a free program called Virtual Machine Manager to create a Windows 7 Virtual Machine.
Why I do not recommend Windows 8, 9, 10 or 11 in a Virtual Machine
Windows 7 was the last Microsoft operating system intended to be run with a traditional BIOS. It was and still is much more stable than Windows 8, 9, 10 or 11. In addition, Windows 7 can run as little as 2 GB of RAM. This is important because many older computers only have 4 GB of RAM and we need to keep 2 GB of RAM on the Linux side to run our Linux programs at the same time that we are running our Windows programs in a Virtual Machine. Note that Virtual Machines need their own RAM and do not share RAM with the Host computer while the virtual machine is running.
Second, Windows 7 only requires 33 GB of hard drive. The newer versions of Windows require up to 64GB of space on the hard drive to handle the wave of updates that are installed shortly after the operating system is installed.
Third, the settings in Windows 7 are more friendly than the settings in the newer versions of Windows. As just one example, Windows 7 only has one control panel while Windows 8, 9, 10 and 11 have two or more control panels – and many settings that are completely out of the users control.
Fourth, I have a moral problem with Windows 8, 9, 10 and 11. They are a Hacker Heaven that has led to the destruction of many businesses. I view all of them as evil. So while you can technically create a Windows 8, 9, 10 or 11 Virtual Machine – even you have a computer with enough RAM and a fast enough processor - here we will only create a Windows 7 virtual machine which thankfully was enough to do what I needed done.
Host Computer Hardware Requirements
To install a Virtual Machine, you should have a host or home computer with at least 4 GB of RAM and preferably 8 GB of RAM (as the process requires giving 2 GB of your RAM to your virtual server). You should also have at least 30 to 40 GB or more of free space on your hard drive. Your CPU (Central Processor Unit) must support Intel VT-x or AMD-v virtualization features which must also be enabled in UEFI/BIOS. We will assume you are using a Debian 11 laptop with at least 4 GB of RAM.
Before installing Virtual Machine Manager, we need to update and upgrade Debian on your Home computer. Open a terminal and type
sudo apt update
Once complete, run this command:
sudo apt upgrade
Then close the terminal.
Install Virtual Machine Manager
We will next install Virtual Machine Manager from the Debian Software Center. Type Virtual Machine into the Search Box. Then click on Virtual Machine Manager and click Install. Then enter your password. After the download is complete, close the Debian Software Manager. Note that you can also install Virtual Machine Manager by opening a terminal and typing
sudo apt install virt-manager
When you install Virtual Machine Manager, it comes with 5 components:
virt-install: Command-line utility to provision OS
virt-viewer: The UI interface with graphical features
virt-clone: Command-line tool to close existing inactive hosts
virt-xml: Command-line tool for easily editing libvirt domain XML using virt-install’s command-line options.
virt-bootstrap: Command tool providing an easy way to set up the root file system for libvirt-based containers.
However we also need to open a terminal and add the following packages by copying and pasting this command into the terminal:
sudo apt install qemu libvirt-daemon-system libvirt-clients bridge-utils
Then close the terminal. Then, restart your host or home computer. We can now use Virtual Machine Manager to install our first basic Virtual Private Machine.
Download Windows 7 Pro Iso File
Support for Windows 7 ended on January 14, 2020. Fortunately, you can still run Windows 7 even though Microsoft has removed the Windows 7 ISO file download page from its official website and you can’t download the Windows 7 ISO file using the product key.
The real problem is getting the correct ISO Windows 7 ISO file. Sadly, most of the direct links have fake Windows 7 ISO files. Here is a link to a hidden Microsoft ISO file. It is the official Windows 7 Pro 64-bit disk image, hosted on Microsoft’s server. As a bonus, it already has most updates (and root certificates) already installed.
https://download.microsoft.com/download/0/6/3/06365375-C346-4D65-87C7-EE41F55F736B/7601.24214.180801-1700.win7sp1_ldr_escrow_CLIENT_PROFESSIONAL_x64FRE_en-us.iso
The ISO file was 5.9 GB and will automatically download to your home computer downloads folder.
Pre-VPS Creation Checklist
#1 Is your laptop connected to your router with an Ethernet cable?
#2 Have you downloaded your Windows 7 ISO to your Downloads folder?
#3 Have you installed Virtual Machine Manager from the Debian Software Manager?
If you answer yes to all of these questions, then go to the Debian Menu and click on Administration, Virtual Machine Manager.
Open Virtual Machine Manager
Click on Administration, Virtual Machine Manager. This screen will appear.
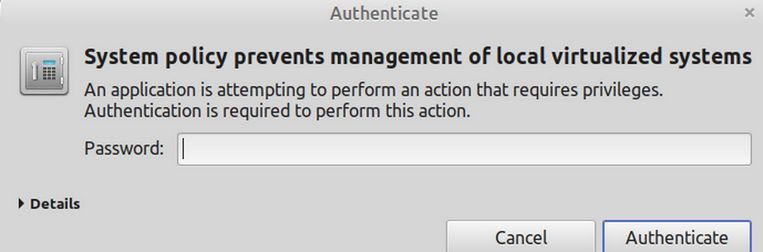
Enter your password. Then this screen will appear:
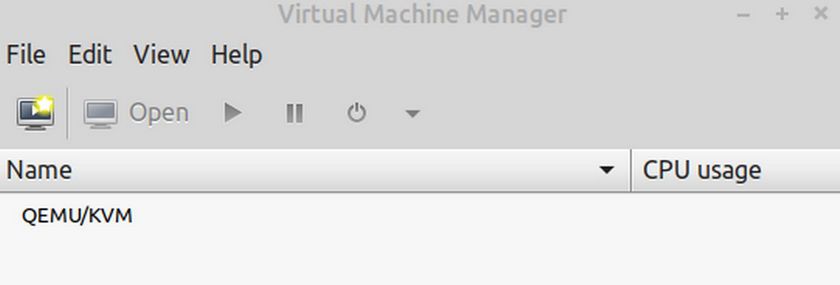
Click File, New Virtual Machine or click on the yellow start icon to create a new virtual machine. On the first screen, click on the Forward button. This is the first of five screens
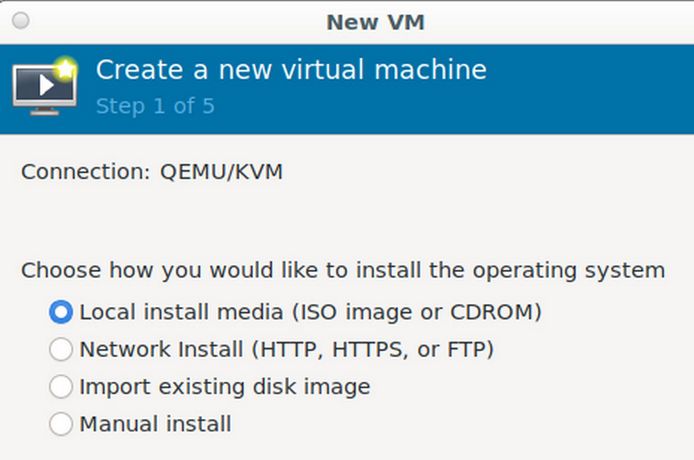
We will do a local install. Click Forward. This is the second screen:
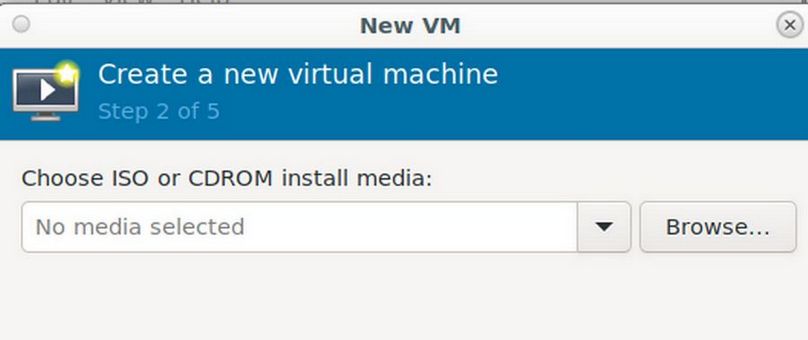
Click Browse. Then click Browse Local at the base of the screen.
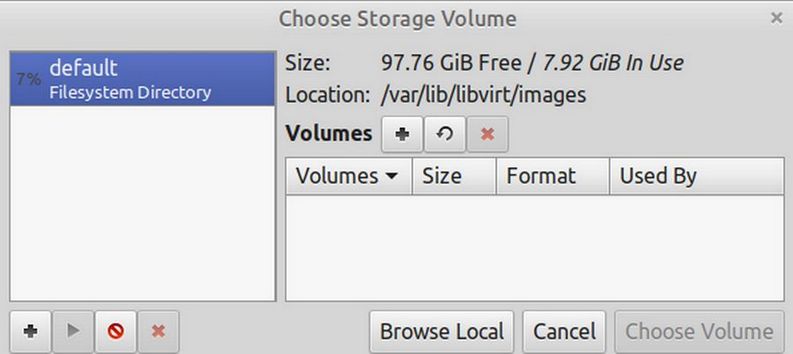
Then click on your Downloads folder and select the Windows 7 ISO. Then at the bottom of the Step 2 screen 2, uncheck the automatically detect OS box and type in and or select Windows 7.
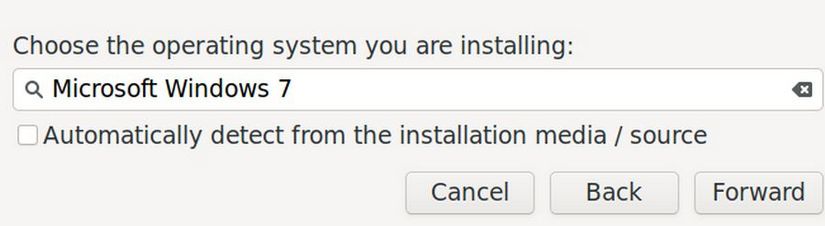
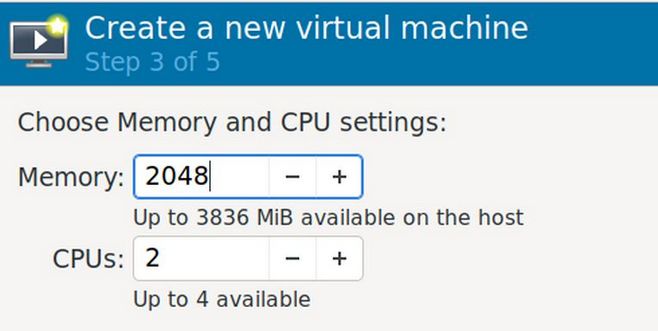
Then click Forward. In the next window, Step 3. , specify the RAM and CPU for the VM. The minimum required RAM for Windows 7 is 2 GB. Set the Memory at 2048 and leave the CPUs at 2:
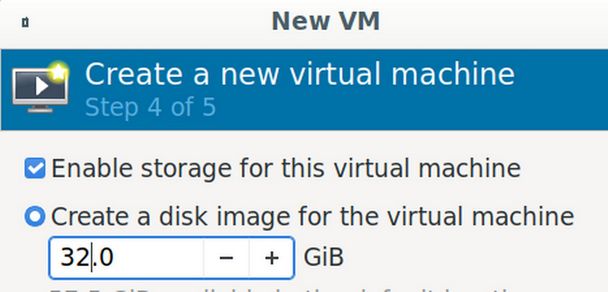
Click Forward. In the next window, Step 4, set the Disc Storage size to 32 GB and click Forward.
In the next window, Step 5. For our first virtual machine, we will not do any custom configuration before the install. We will also not select a network. Leave the Network Selection at the default which is NAT. Click Finish. If this is your first virtual machine, this screen may appear:
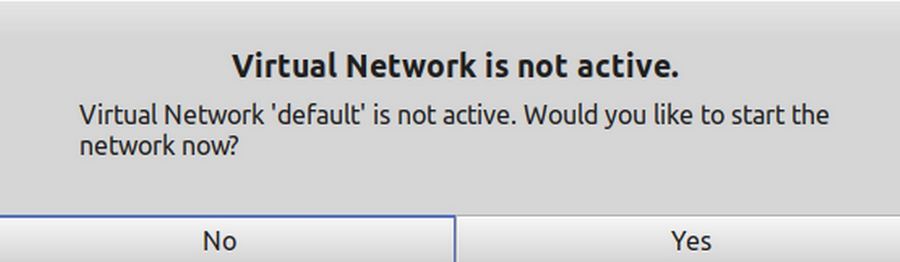
Click Yes to start the virtual network. Then the first Windows 7 install screen will appear inside of a QEMU/KVM window:
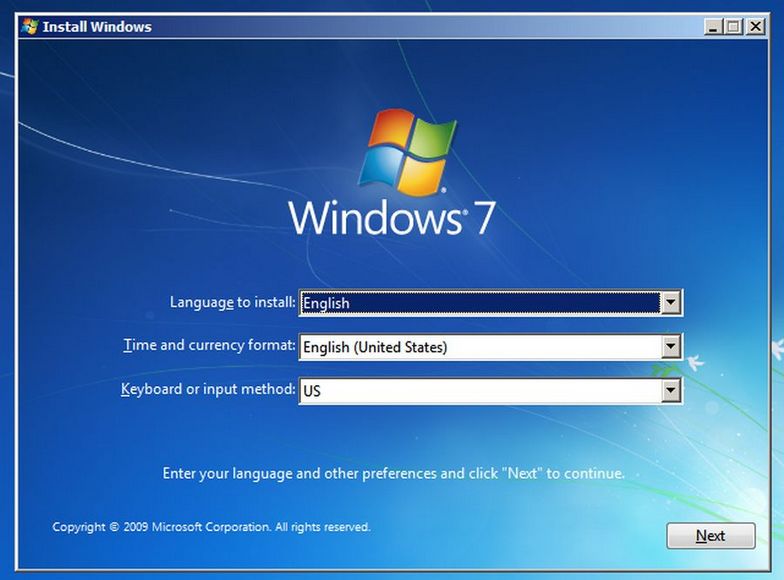
Select language, time and currency, and keyboard method. Then click on the Next button, which will take you to the main setup screen. Click Next. Then click Install Now. Then check Accept Terms and click Next. Then change from Upgrade to Custom option. This screen will appear:
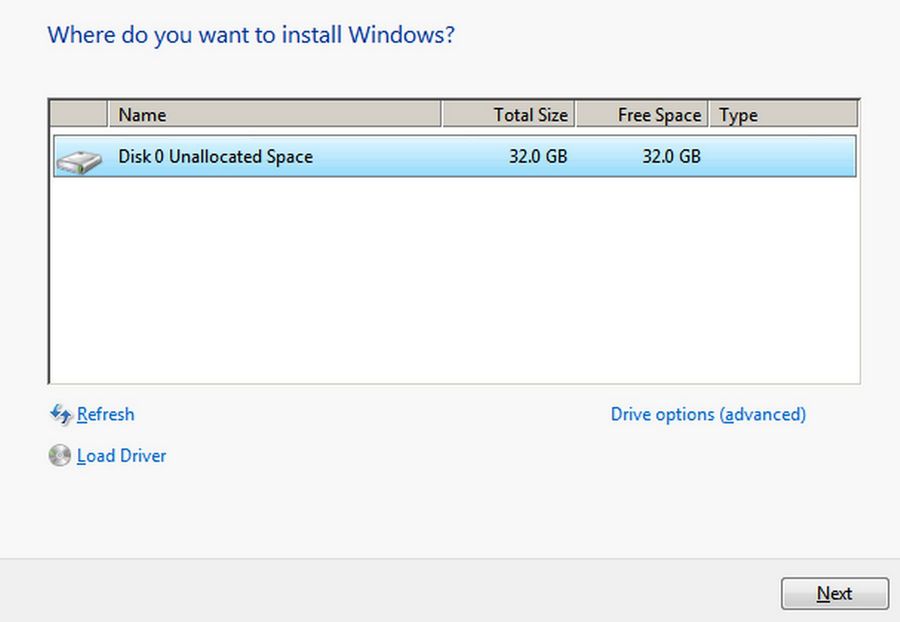
Click Next. The Windows install screen will appear and run through a checklist including a couple of restarts:
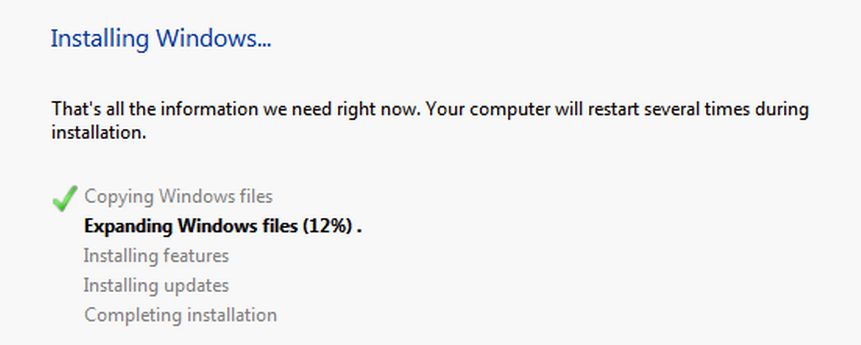
This will take several minutes. Do not try to run any other programs or open any browsers during this time. When your VM is running, it is using most of your RAM and needs as much as it can get. Therefore, the only program you should run in your Linux computer is Libre Office and even this is just for taking screen shots with Flameshot.
Then this screen will appear:
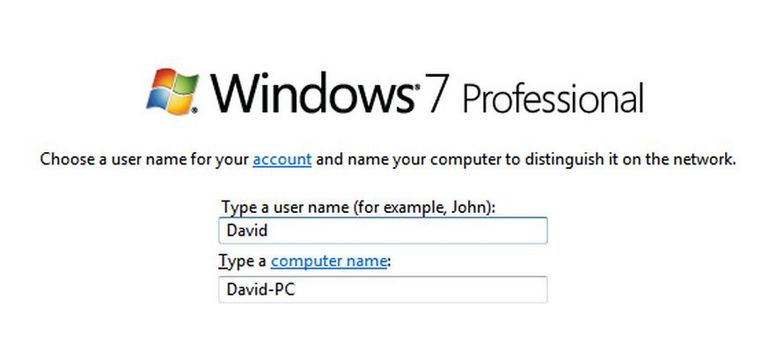
Enter your name and click Next. Then type in a password twice and a hint (such as the word Easy) to remember your password. Then click Next. This brings up the Product Key screen. Uncheck Automatically Activate Windows when I am online. Then click Skip. On the next screen, click on the second option to only install important updates. On the next screen, accept the time and date if correct. Click Next. On the next screen, click Home Network. Windows 7 will now start:
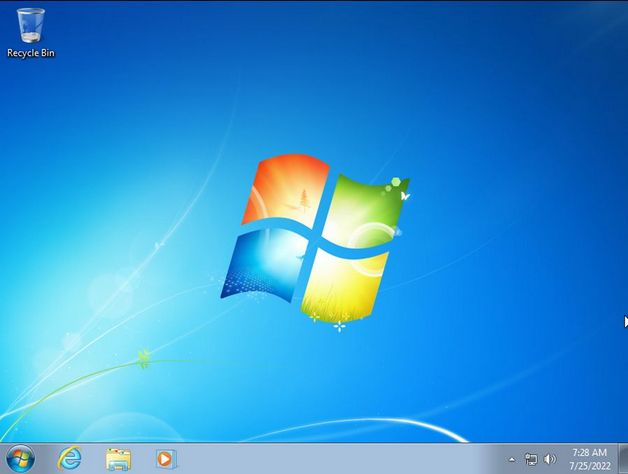
Click on the Windows icon in the lower left corner to bring up the programs. Then click again to close the programs.
Add Firefox browser
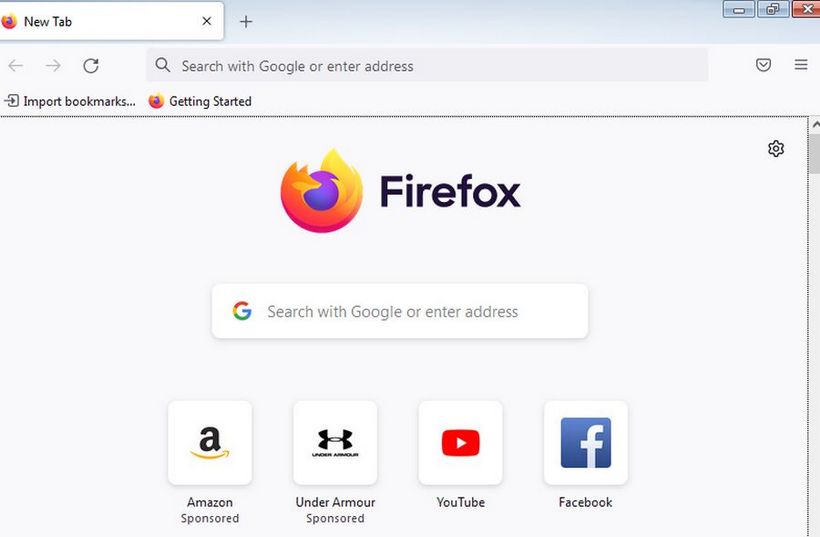
Click on the Internet Explorer icon to open it. On the popup, click Ask me later. Then close the Download MS Edge tab and open a new tab. Search for Firefox download. Then click the first result, Download Firefox Browser, Download.
Click Run to start the installer. Then click Yes. Note that no password was required to install this on your computer. A Firefox icon will appear on your task bar and on your Desktop. Close the Explorer browser. Then click on the Firefox icon in the task bar to open the Firefox browser. Click Set as default browser.
Remember RAM is limited. So be patient and give applications time to load. Also only have one or two browser tabs open at a time.
Click on YouTube to play a video. Type Collegeintheclouds channel into the Search Box. Then click on the video to watch it. The sound may not seem to work. But click on another video and the sound does work. And the sound on the other College in the Clouds video works. Then click on the video inside of the channel and this version has the sound.
Next, in the browser, go to Amazon dot com and log into your Amazon account. Click on Your Account. Then click Your Orders. Digital Orders. This should bring up your Ebook orders. Click View Your Item. View Order details. Then click Kindle.
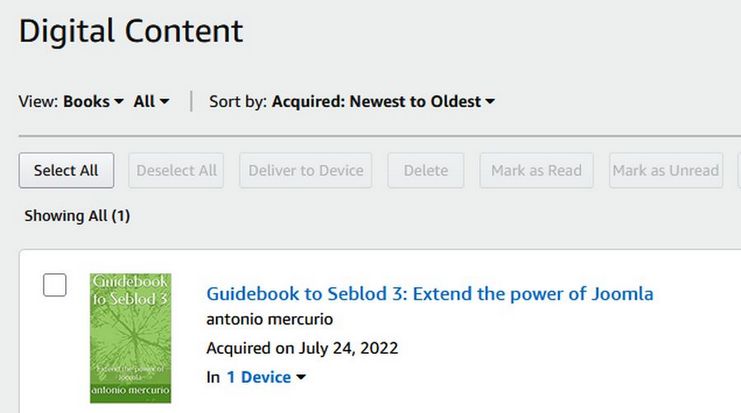
Scroll to the right and click More Actions. Click Download and transfer via USB. Then click Free Kindle App. Then click black button, download PC and Mac. This will download the Kindle for PC EXE file. Close the Firefox browser. Then open your Windows File Manager and click Downloads. Then right click on the Kindle for PC installer file and click Open. Click Run. Note that no password was required to install and run this file. At the end of the install, there is a popup to enter your Amazon account email and password. Then click Sign in.
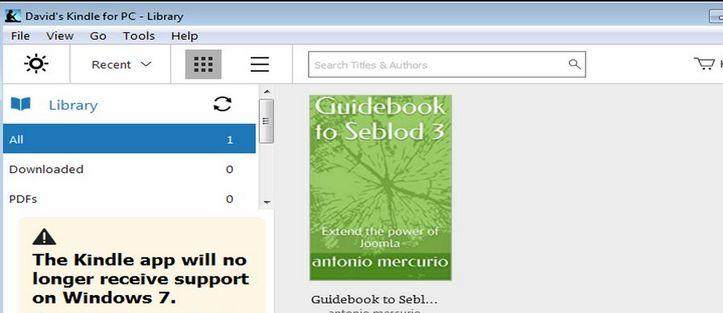
Left click on the book to select it. Then right click and click Download. Then close the Kindle for PC app. Then click Computer which shows that there is 14.6 GB left on your Local Disk C drive. In the top search box, click on your name and click on My Documents. Then click on My Kindle Content. Then click on the Book folder to open it.
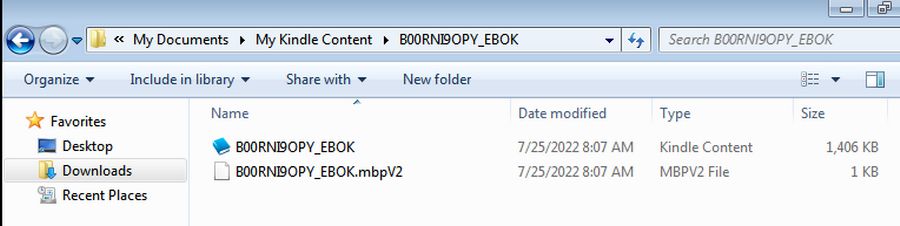
The EBOK is the Kindle file. Close the Windows File Manager.
Use a free program to Convert the AWZ file into an Epub file
The most common program used to convert AWZ files to Epub is called the Calibre DeDRM plugin. However, this plugin will not work on Linux and it will not work on Windows 7. It will only work on Windows 10 and as I explained above, there are two many drawbacks to Windows 10. We will therefore use a different tool called Ebook Converter. Open Firefox in your Windows Virtual Machine and go to this website: https://www.ebook-converter.com/
Download the program Remove DRM from Kindle ebook tool for Windows.

Click Continue to open this screen:
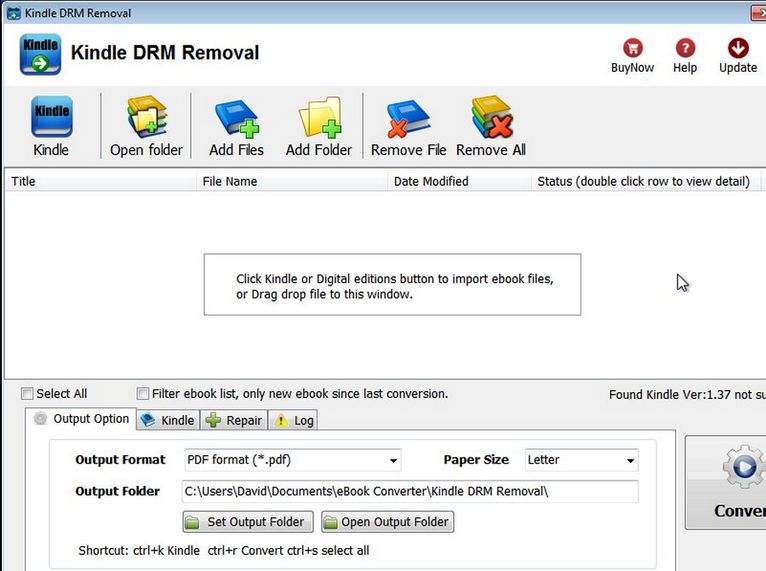
Click Open Folder, Kindle and open the Ebok folder. Drag the AZW file into the conversion window. Check the box to the left of the file to select the AWZ file. Then click Convert:
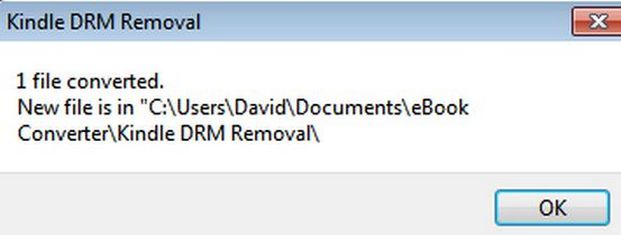
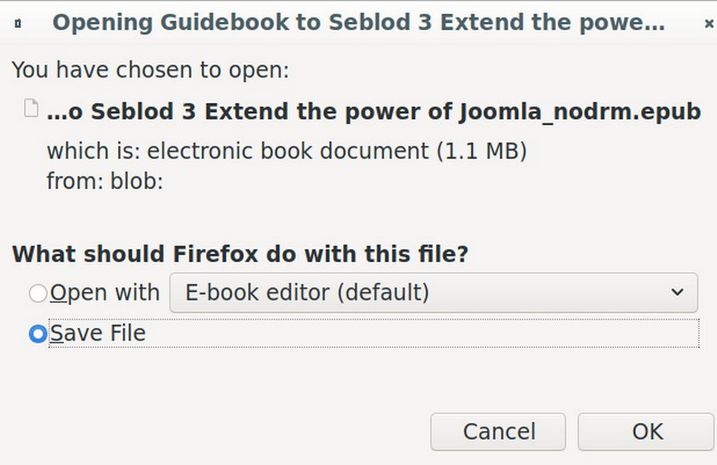
Email yourself the Epub file
Close the file manager. Open Firefox and log into your Protonmail account. Click New Message. Then attach this file to a Protonmail email and email this file to yourself. Then close Protonmail and close Firefox. Then click on the Windows icon in the lower left corner and click Shutdown to shut down Windows. Then close the VM display screen. Then close Virtual Machine Manager. Then open a browser on your Linux computer and log into your Protonmail account. Click on your Kindle email and download the attachment.
Download Calibre from the Debian Software Manager. Then click on All Applications and click on Calibre to open it. Then click Add books from a single folder. Find the Epub file to select it.
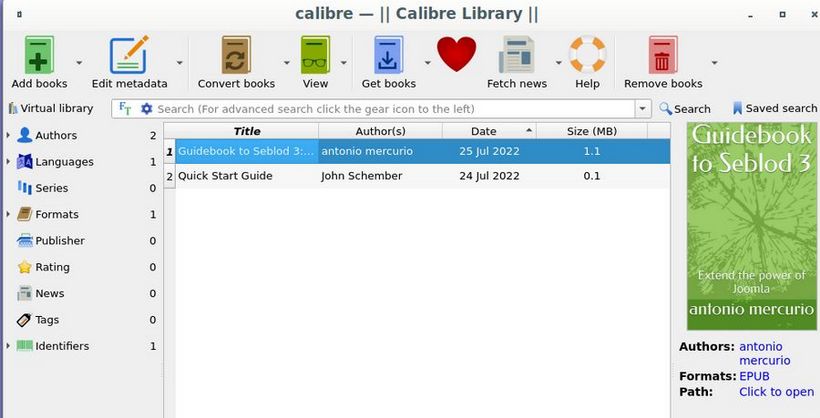
Then click Convert and change the Output format to PDF. Then click OK. Now two formats are shown. Click on the PDF format in the right side menu. I can now copy paste information from the PDF.
Install Libre Office on Windows 7 Virtual Machine
Start your Windows 7 Virtual Machine and log in. Then open the Firefox browser and type libreoffice.org. Then click Download. Windows 64 bit. The file is 332 MB. Wait for the file to download. Then close Firefox and open your file manager. Then right click on the file and click Install. Then click Run. Then in the Wizard, click Next. Next and Install. Then click Yes. Then wait for the Install and click Finish. Then close the file manager. Click on Libre Office icon on the Desktop to open it.
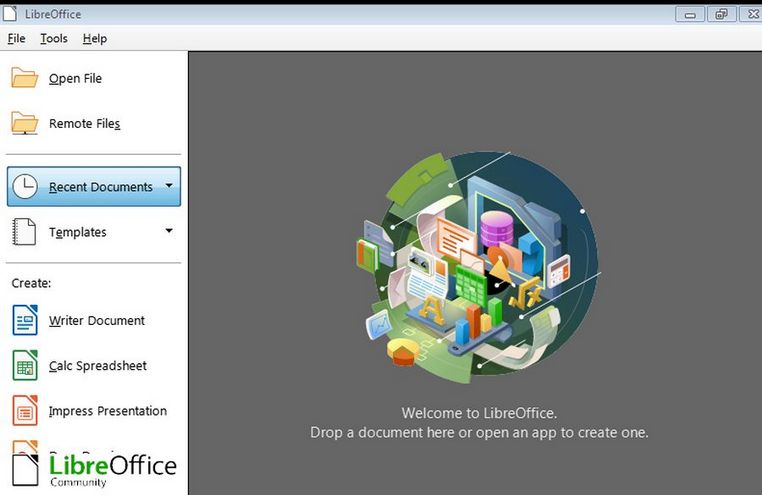
Click Create Writer Document. Then type: This is my first Libre Writer document. Then click File Save and give it a title like First Writer document.

The latest version of Libre Office 7.3 works with Windows 7 in a Virtual Machine. Close the Writer document. Then shut down Windows 7. Then close Virtual Machine Manager.
Tip: Hackers can still take over your Windows 7 VM anytime you are online. If they do, just delete the virtual machine and create a new one.
What's Next?
In the next section, we will look at how to build our Linux Community.