In the last section, we fine-tuned the appearance of our LibreWriter menu. In this section, we will add six free extensions to LibreOffice, Template Changer, Language Tool, Export As Images, PicExtract, Custom Palette Export and Custom Palette Imported.
#1 Add Template Changer to Allow Us to Assign a new template to an existing document
You can convert and even batch convert your MS Word documents into LibreWriter documents in a matter of minutes. But let’s say you have your book documents in LibreWriter but you made them using the default template rather than your own book template – and now you want to switch all of these documents to your new custom template. Since all new documents will use the new template, assuming you have assigned it as the new default template, you could open a new document and copy paste the old document into the new one. But there is an easier solution. Download the latest version of Template Changer. To reach the LibreOffice Extensions directory, go to http://extensions.libreoffice.org/
Then click on Extensions. The click Writer Extensions. Click on the second page and you will find Template Changer. This will allow us to easily change templates when moving between various formats of our source documents. Click on Template Changer to go to its download page.
Normally, we would scroll down the page. Then click on Template Changer to download it. However, the version currently on this page is the outdated version 1.2.6. We will instead download the most current version 1.2.7c from this link:https://bugs.documentfoundation.org/attachment.cgi?id=103039&action=edit
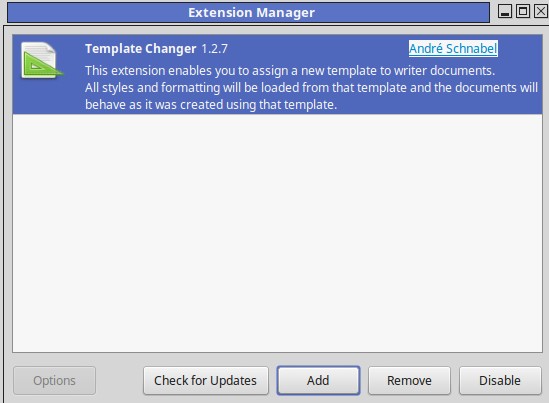
Then transfer the file from your Downloads folder to a LibreOffice Extensions folder. Then go to Tools - Extension Manager in LibreOffice and click Add to install the extension.
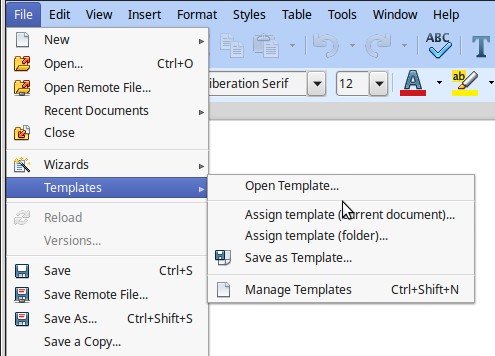
Then save and close all documents and restart LibreWriter. You can now go to File - Templates - Assign Template (current document) to select the updated template that you want applied.
Important Tips about Changing Templates in Midstream
Templates are an important tool in creating documents – especially for creating book documents. They allow us to precisely define a particular page layout and style format that we can consistently apply to every document that will be making up our book. LibreOffice is the best tool in existence for creating books because it allows us the most control over our templates and style formatting. Ironically however, by default, LibreOffice does not assign a template to a new document! You can see this by opening a new document, then click File, Properties:

LibreWriter comes with several preinstalled templates – including a template called Default Template. But the “Default” template is not assigned as the Default template! Thus, the Template properties of every new Writer document will be blank. Actually, LibreWriter does have a “hidden” template that it uses to format new documents when you click File, New Text Document. But we have very little control over this hidden template. We can change the default font from Sans Serif to Sans in Tools, Options. However, any style changes we make to one document will not be carried over to the next new document unless we assign a default template to all documents – and then modify our default template to the styles we want to use. We will soon describe how to make your own default template to give you more control over LibreWriter document formatting. However, before we do that we should point out some precautions about trying to change templates in mid-stream with or without template changer. First, there is another way to change templates without using template changer. Click on Styles, Styles and Formatting to bring up the Styles and Formatting Sidebar:

In the upper right corner, just below the X is a drop down arrow for an icon called New Style from Selection. Click on this arrow. Then click Load Styles. This will bring up the following window:
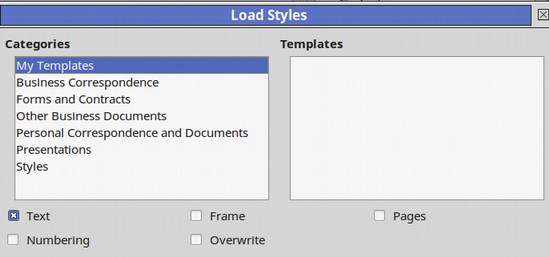
By default, this screen shows the templates in our My Templates folder. If we had created any custom templates, they would appear in the templates box. Click on Styles and you will see templates called Default and Modern. We could assign our existing document to either of these templates by clicking on one of them. But we will not assign a template for right now. Instead, click Cancel to close this screen. The Template Changer Extension is just an easier way of changing templates than going through the above process. A drawback of just assigning a template to a document when we do not fully know what settings are used by the template is that we can have unexpected results. Templates not only define Paragraph Styles, they also define page layout styles, Page Margins and even Graphic and Image Property settings. This is why we will be shortly focusing on how to create our own template rather than using a template made by someone at LibreOffice.
You should also note that if a custom template uses custom styles with custom names, these custom styles may not carry forward from our existing document to a new document even though we assigned the custom template to the new document and the custom template includes our custom styles. Even if we do assign these custom styles manually to our new documents, there is still a possibility that these custom styles will not be picked up by book printers and Ebook readers. This is why we do not recommend and will not be using custom styles. Instead, we will be modifying existing so-called normal styles.
In addition, changing a template for a document with more than about 10 images is likely to cause problems for the document including things like seeing the document suddenly skip to the end of the document every time you add a new image. The only effective solution to this problem is to open a new blank document with the new template you want to use. Then Select All and copy paste the current document into the new document. This is why it is best when writing big long documents with lots of images to set up your book template before you start writing your book documents.
Also, and perhaps even more important, assigning a new template to an existing document will not change any Direct Formatting in the existing document – because Direct Formatting always over-rides Style Formatting. This is why we do not recommend Direct Formatting. If you have a document with a lot of Direct Formatting that you created in the past, you should copy it over to a new document using the new template – keeping your old document as a reference. Then click Select All – Format, Clear Direct Formatting.
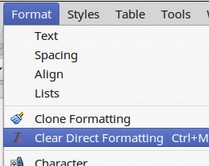
Then go through the document using your old reference document as a guide and apply styles to every place you had applied Direct Formatting. This is the only way to ensure that your print book and Ebook will come out looking the way you intended. Using Styles instead of Direct Formatting will also allow you to quickly change your styles should you decide a different style would look better.
Last, once we apply a template to a document, any time we change the template assigned to a document, and then open any document using that template, a screen will appear asking us if we want to update the template that document is based on. In general, we should click Yes. If we do not click Yes, then the document will forever be stuck with the old version of the template! For all the above reasons, while it is nice to have an easy Template Changer, we should think twice about if and when we will use it.
#2 Language Tool for LibreWriter
The next Writer Extension we will install is a grammar checker called Language Tool. Here is the direct link:
https://extensions.libreoffice.org/extensions/languagetool
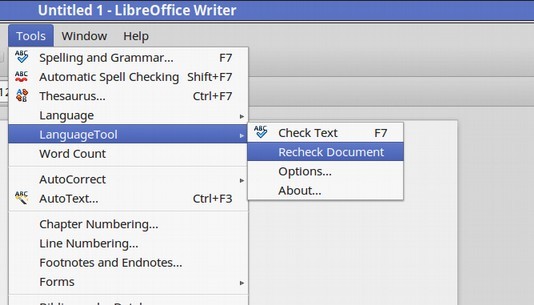
Transfer this Language Tool from your Downloads folder to your LibreOffice Extensions folder. To install it, go to Tools, Extension Manager and click Add. Then close all documents and restart LibreOffice. Open a document you want to check. Then click Tools, Language Tool, Recheck Document.
#3 Export as Images for LibreImpress
This extension will allow us to export our Impress slideshow as a series of JPEG images which can be used to create the same slideshow on our website. Here is the direct link: https://extensions.libreoffice.org/extensions/export-as-images
Then open an Impress Presentation and click on File, Export as Images:
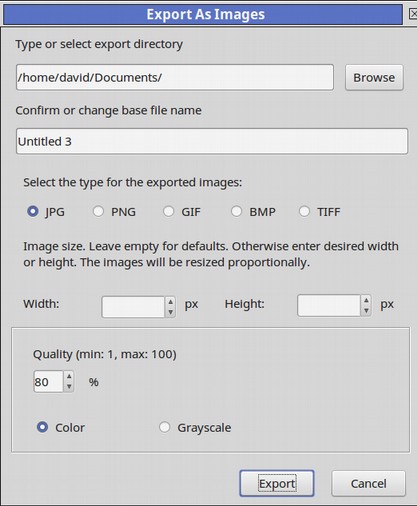
Choose where you want the images to go, then click Export.
#4 PicExtract
This extension will allow us to export our images from any Writer document into a separate folder. This folder is then linked to our HTML document during Save As HTML Writer when creating Ebooks and web pages. Here is the link to download this important tool. https://extensions.libreoffice.org/extensions/extract-embedded-images-and-replace-embedded-images-with-linked-images-picextract
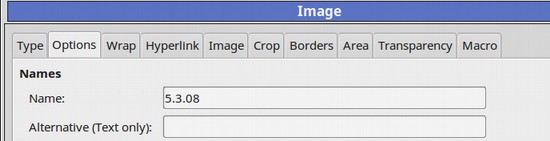
To use this tool, install it with Tools, Extension Manager. Then make sure all the images in your document have been properly named by right clicking on each image, click Properties, then click the Options tab and change its name to match the chapter and section name for the image. For example, this is the eighth image in Section 5.3:
Once all of our images have been properly named, make a copy of your Writer document and place it in a separate folder. Then click PicExtract in the main menu. Check both boxes (Use Object Name and Replace Embedded with Linked Images). Then click OK. All images will be extracted from the document and placed in a separate folder. After this is done, before taking any other steps, click File, Save As HTML (Writer) to create our linked HTML document. This HTML document can then be opened in a free open source program called Sigil for further editing before conversion into an Epub document and or web page.
|
Caution
|
Do Not Use PicExtract with the original version of your Source Document. While it make look the same. The images will no longer be properly embedded into your source document and will therefore disappear the moment the link is broken to the images folder! Always make a copy of your source document and put it in a separate folder just before using PicExtract. Also note that PicExtract will not work if you have any Text Boxes in your document. Text boxes, if needed, should be replaced with the same content in a single cell table. |

#5 Custom Palette Export
This tool allows us to create a custom image folder with the colors and gradients we want and then download that custom color folder to our computer. Then when we upgrade to a newer operating system or get a new computer, we can install the colors palette to the new computer. We can also post our color palette online where others can download it and add it to their computer. Here is the direct link to this extension. https://extensions.libreoffice.org/extensions/custom-palette-eport/1-0.0
After it is installed, restart LibreOffice and open a Draw document. Click on Format Area. The Standard Palette has mainly dark colors not suitable as a background for text.
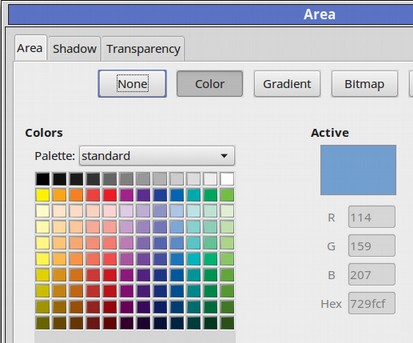
We will therefore make a Custom palette with a range of very light background colors. Click on the drop down arrow to the right of the word Standard and select the word Custom. The default custom colors screen is blank.
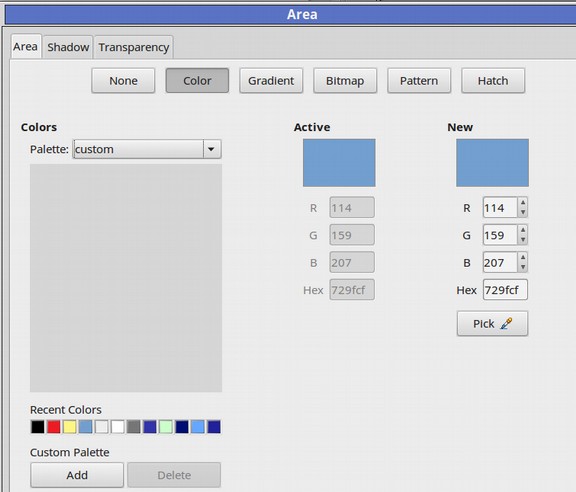
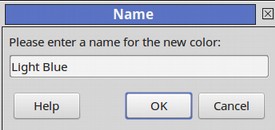
To add a new color to our Custom palette, click on Pick, then change the Hex value for our new color to EEEEFF. Then click OK. Then click Add. Name the color Light Blue.
Then click OK. Repeat for other whatever other light colors you want. To export your custom palette, from LibreDraw, click on Tools, Export Custom Palette. Name the palette Custom Palette. Then click OK.
#6 Custom Palette Import
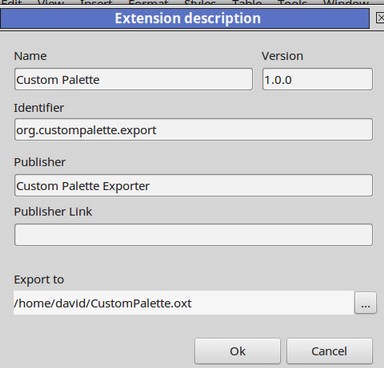
After we create a custom palette, we can add our custom palette with the Extensions Manager. First, we must add our custom palette file, created with the Custom Palette Export Tool, with our Extensions Manager. Click Add. This is what our Extensions Manager now looks like:
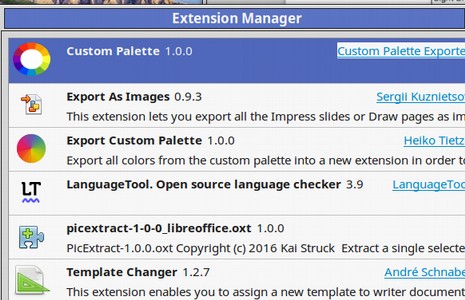
Then restart LibreOffice and open a LibreDraw document and go to Format Area, Color tab. For Palette, select Custom Palette:
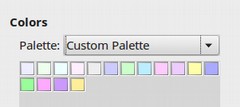
These are the 16 custom background colors we will use during this course and several other courses. We will have this Custom Palette file available to download on many of our websites.
What’s Next?
Now that we have all of our LibreOffice extensions installed, in the next section, we will add our custom default template and review a few basic style settings.