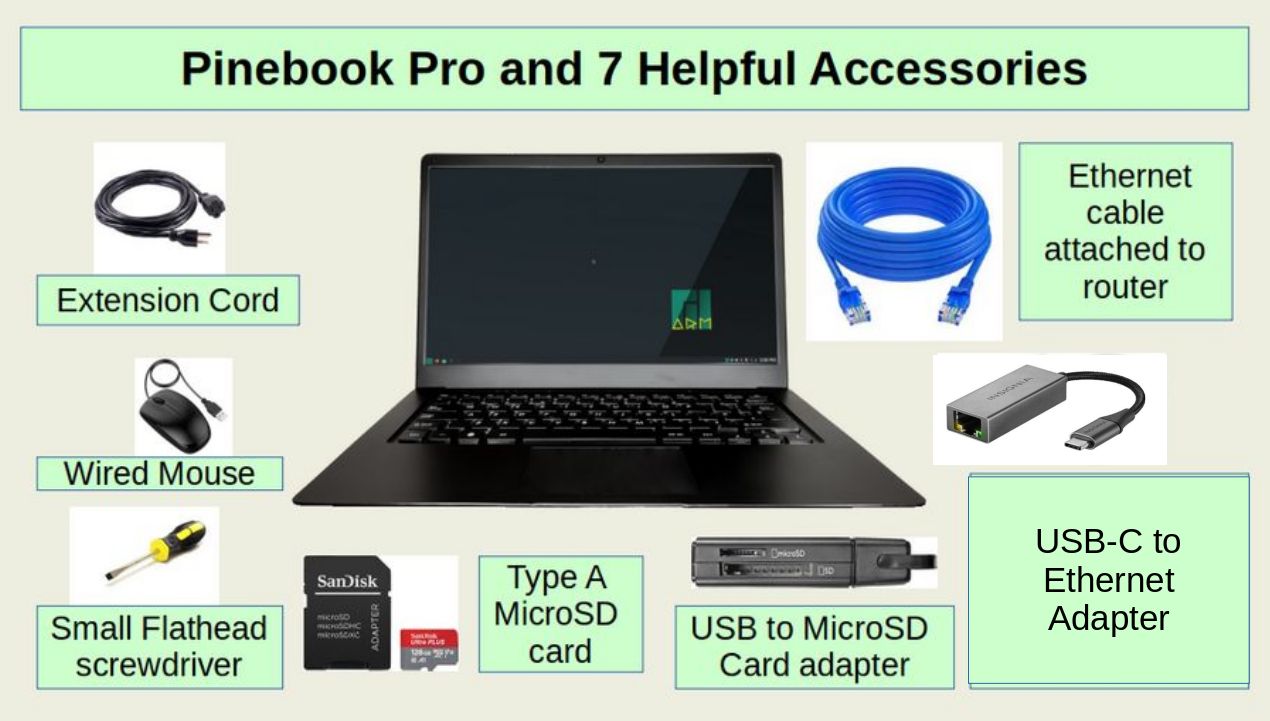
In this article, we will explain why to buy and how to set up and use the revolutionary 14 inch laptop called the Pinebook Pro. We will also review how and why to add some helpful accessories to your Pinebook Pro. Even with these accessories, the Pinebook Pro costs under $300. Yet it has better security than many computers that cost over $1000. Such a low price means that parents and school districts can buy data secure computers for their students for the very first time. Thus, the Pinebook Pro can be the beginning of a new era of learning.
Why the Pinebook Pro may be the most important new laptop ever introduced
There is an extreme shortage of secure computers in the world today. By this I mean that most computers being sold are either Windows, Google or Apple. All three of these brands are NSA Prism Partners meaning that they have hidden back doors that allow either the US Government and/or hackers to remotely access and control your computer. They can also hold your computer data for ransom and remotely brick your computer completely – to the point where it will no longer even turn on.
A second security nightmare of current computer options is a program called UEFI which runs immediately after you turn your computer on and before the operating system (such as Windows or Apple) runs. UEFI also has remotely controlled back doors which allow the government and or hackers to remotely control and brick your computer. The only way to avoid this nightmare is to seek out a computer that can run a non-UEFI startup program (such as Legacy BIOS, Coreboot, Linux Boot or U Boot) and can be flashed to (or comes with) the Linux operating system. Even here, you need to be extremely careful because many so-called Linux computers also use UEFI. Even some Linux computers that advertise that they use Coreboot are nothing more than a UEFI computer with a Coreboot cover.
While you can typically reflash almost any older computer that came with an X86 processor to Linux (after turning off Secure Boot and changing the BIOS from UEFI to Legacy), these 2 to 12 year older laptops are getting harder to find. What is urgently needed are new laptops that come with a secure BIOS program and come installed with the Linux operating system.
The best new laptop that comes with a secure BIOS and uses the Linux operating system is called the Purism Librem 14. It uses an x86 Intel process and a secure version of Coreboot called SeaBIOS. https://puri.sm/products/librem-14/
This laptop is currently the fastest and most secure laptop in the world. However, Librem 14 costs $1400 to $1800 which is sadly beyond what many people can afford. Thankfully, there is a much less expensive alternative called the Pinebook Pro which costs $220 (or about $300 once you buy the accessories we recommend below). https://www.pine64.org/pinebook-pro/
Pinebook Pro Features
Below are some of the important differences and features of the Pinebook Pro
Pinebook Pro uses an ARM Processor
Most laptops use a x86 processor made either by Intel or AMD. The problem with these processors is that in recent years, their cost has risen dramatically. In response, some major corporations, such as Amazon and Apple invested heavily in the development of ARM processors. While ARM processors have historically been much slower than x86 processors, in recent years, they have become almost as fast as x86 processors. Currently, the Amazon Cloud and all Apple laptops use ARM processors. In addition, nearly all mobile phones in the world use ARM processors.
The biggest drawback of ARM processors is that they require a custom version of application programs. Just a few years ago, less than half of all applications had ARM versions. However currently over 90% of all the programs I use and recommend offer an ARM version. What does not work on the Pinebook Pro is the Windows operating system. This means that you can not use Windows programs on a Pinebook Pro. In addition, Virtual Machine Manager does not work well on the Pinebook Pro – meaning that you can not run Windows programs in a virtual machine on a Pinebook Pro. Thankfully, there are better and more secure Linux ARM options to almost any Windows program.
Pinebook Pro uses an internal 64 GB EMMC Hard Drive
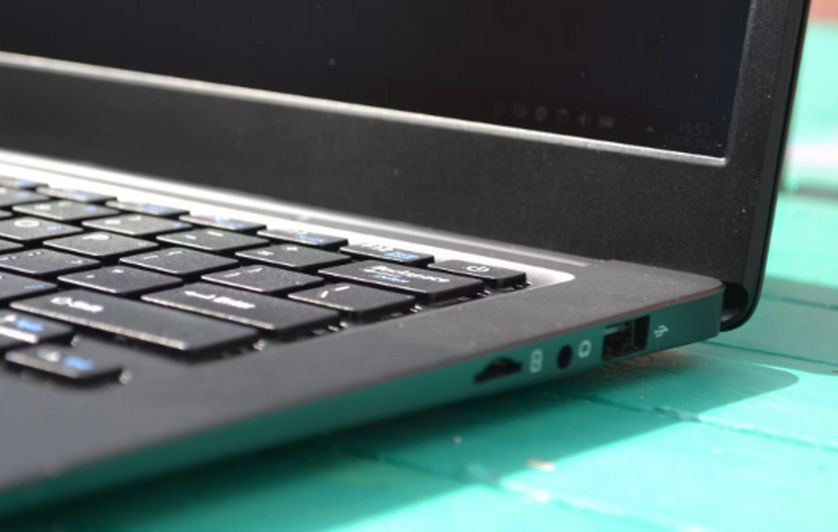
The Pinebook Pro comes with a 64GiB EMMC hard drive. I am not a fan of this hard drive because it is not very durable. More important, if it gets corrupted, it is very difficult to fix. I therefore recommend running through the initial set up process with the EMMC drive when you first get your Pinebook Pro and then adding a 128GB SanDisk Type A MicroSD drive to the Pinebook Pro. If this drive ever gets corrupted, it can be easily reformatted or replaced with another MicroSD card (more on how to do this later). Below is an image of the right side of the laptop with the MicroSD card slot.
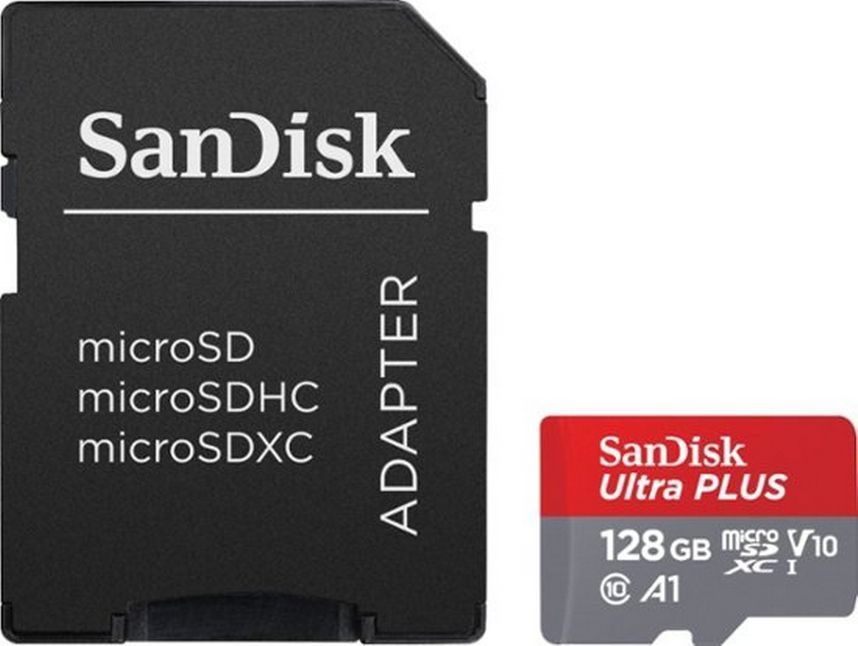
Buy a SanDisk Type A MicroSD card
It is important to seek out a Type A1 MicroSD card as A2 is not yet supported. Here is a link to a suitable 128GB MicroSD card for $28
https://www.bestbuy.com/site/sandisk-ultra-plus-128gb-microsdxc-uhs-i-memory-card/6346816.p?skuId=6346816
If your current laptop you will be using to flash the MicroSD card does not have an SD card slot, you should also get an SD to USB adapter. Here is a link to one for $20.

In addition, you will need a very small flat head screw driver to insert the MicroSD card all the way into the MicroSD card slot after you have flashed it.
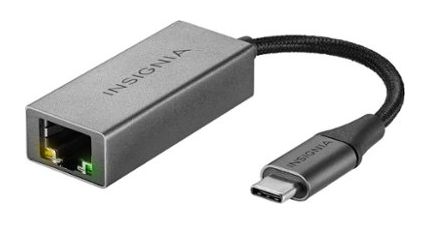
Pinebook Pro requires a special adapter to use Ethernet
By default, the Pinebook Pro only uses WIFI. However, if you have a USB-C to Ethernet adapter, you can connect to the Internet with an Ethernet cable. Ethernet is not only 10 times faster than WIFI, it is also more secure and it is a much more reliable connection that the Pinebook Pro WIFI connection. (note: you can alternately use a USB to Ethernet adapter. But the USB to Ethernet adapter seems to stop working after a few hours while the USB-C to Ethernet adapter works well indefinitely.) Here is a link to a USB-C to Ethernet adapter that costs about $20 https://www.bestbuy.com/site/insignia-usb-c-to-ethernet-adapter-black/6470804.p?skuId=6470804
Pinebook Pro has a great battery but a limited charging system
The Pinebook Pro is capable of being run for 8 hours or more on its incredible battery – making it a great travel laptop. However, while running with the charger connected, the Pinebook Pro can actually be discharging power if you keep the screen brightness at 100 percent. The solution to this problem is to dim the screen to about 70 percent. However, dimming the screen to less than 100 percent creates a second problem. Sadly, the microphone will start to create a low buzzing sound. The best solution to this problem is to use an inexpensive Logitech headset which will completely eliminate the buzzing sound while doing video conferencing and making recordings. We will also review additional options for reducing the buzzing sound.
In addition, the charger that comes with the Pinebook Pro has an extremely short cord which is unlikely to reach your electrical outlet. You should therefore have a longer extension cord to go between the Pinebook Pro charger and your wall outlet.
Finally, I also recommend using a wired mouse connected to the left side USB port which will allow us to turn off the touch pad which does not work very well. Using both USB ports also seems to reduce the buzzing sound.
Other useful extras: Because the built in speaker is not very good, you may want to buy either a USB headset (cost $40 to $60) and or an external speaker to connect to the speaker jack on the Pinebook Pro (Cost $40 to $60).
Setup Step 1… Configure the default EMMC Desktop
Connect the charger to your extension cord and plug the extension cord into your electric outlet and the charger plug into your Pinebook Pro. Then connect your Ethernet cord to your USB-C to Ethernet adapter and plug the adapter into the USB-C Port on the left side of your Pinebook Pro – with the other end plugged into your Internet Router. Plug your mouse into the USB port on the left side of your Pinebook Pro. Then press down on the On button and wait for the small green light to appear near the upper left corner of your Pinebook Pro keyboard. Then stop pressing the On button.
Wait for at least one minute. A green M and spinning wheel may appear and the screen may go black for one minute. Eventually, the Welcome to Manjaro ARM Linux rolling set up screen should appear:
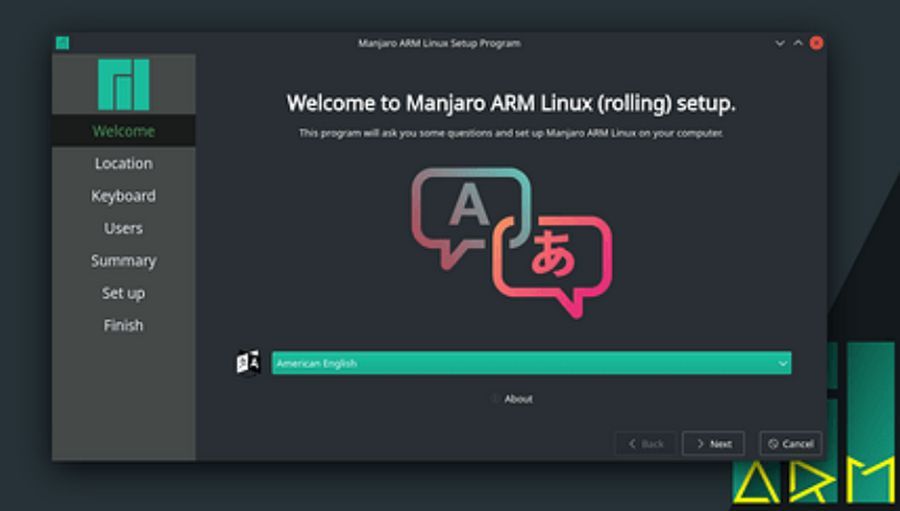
There may be a screen in front of this screen asking to set your use a password. Just close this initial password screen and process with the set up steps.
The Welcome screen has the language set for American English. Click Next. The Location screen, assuming your Pinebook is connected to the Internet with an Ethernet cable, should automatically find your correct time zone. Otherwise, click Region America, Zone Los Angeles and click Next. Keyboard default is US English. Click Next. On the Users screen, enter your first name and enter a password you will remember. Then check Log in automatically and Use same password for administrator. Then click Next.
Next page is Summary. Click Set up. A Welcome screen will appear. It will then say All Done. Click Done to restart. After a minute, the initial screen will appear. Now that our EMMC drive is properly set up, we are ready to create and set up our first MicroSD card drive.
Download the Manjaro Plasma Desktop Image
Open the Firefox browser on the Pinebook Pro and go to the following page: https://manjaro.org/download/#ARM
Then scroll down to the Manjaro ARM Team section. Leave the Device selector set for Generic (which is the Pinebook Pro). There are three main choices. Here is what they look like:
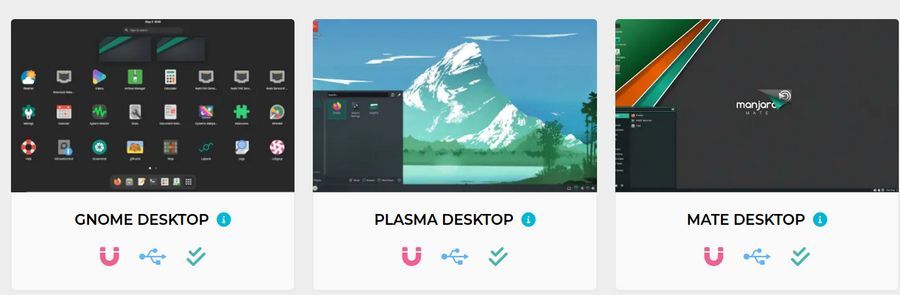
Download the Plasma Desktop option as it is the most compatible with the Pinebook Pro. Click on the middle icon to download the file. Then right click on the XZ file and click Extract Here. The resulting file will now end in img and be about 5.4 GB. Here is what the Dolphin File Manager Downloads folder will look like:
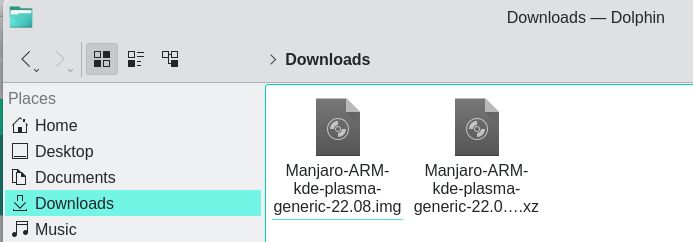
You can then delete the XZ file by right clicking on it and clicking Move to Trash.
Install the Image Writer
Click Applications, System, Add Software. Then open the search box and type imagewriter:

Click the download arrow. Then click Apply. Enter your password. Then click Apply again. Then close the Software manager. Then insert the MicroSD card into a USB adapter and insert the USB adapter into a USB port on your Pinebook Pro.
Use the Image Writer to Install Manjaro Plasma onto your MicroSD drive
Click Applications, Utilities, SUSE Studio Image Writer:
Dragging the image does not appear to work. So click Select. Click the Downloads folder and click the img file to select it. Then assuming the Generic Mass storage device (sdc) is selected, click Write. If you mounted the MicroSD drive, the following warning will appear:
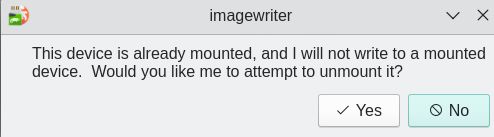
Click Yes to unmount the SD card drive. It will then warn you that it will overwrite the contents of the drive. Click OK. It will then take a couple of minutes to flash the Manjaro Plasma img file onto the MicroSD card. Wait for the flash to finish. Then close the Image Writer and click Applications, Shutdown to shutdown your Pinebook Pro EMMC drive. Then remove the USB adapter from your laptop. Remove the SD card holder from the adapter. Remove the MicroSD card from the card holder and place it in the Pinebook Pro MicroSD card slot. The MicroSD card must go all the way into the slot. Use a small flat head screw driver to carefully push the MicroSD card all the way into the slot so that it stays there.
Configure the MicroSD Drive
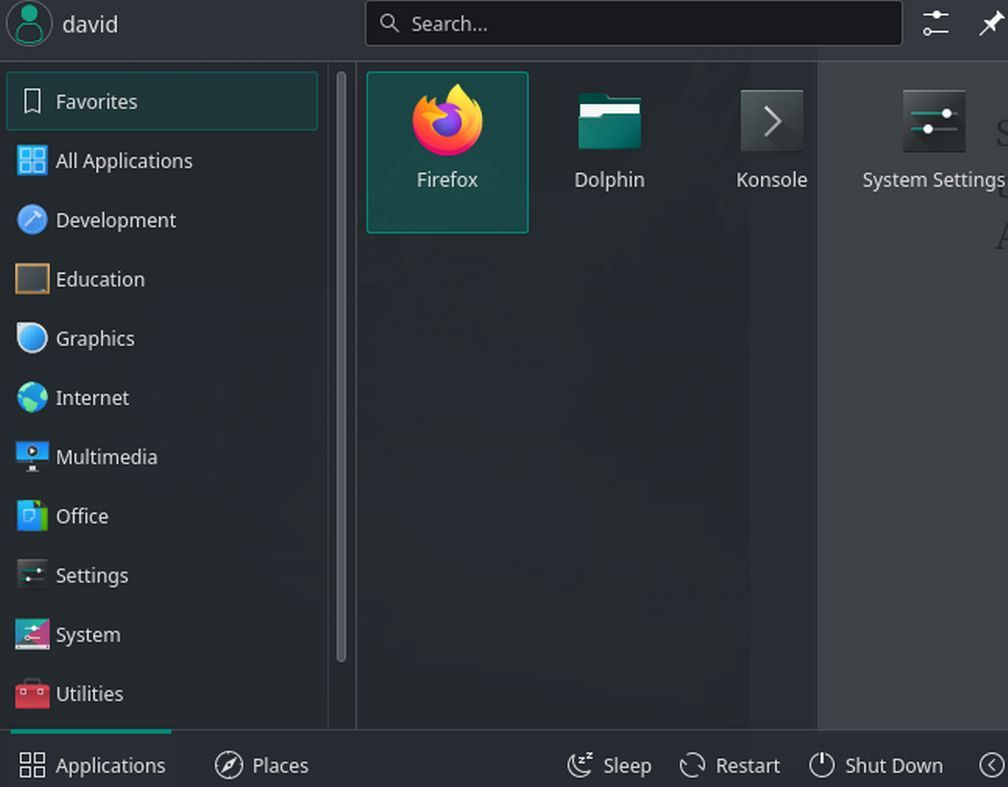
Turn on the Pinebook Pro by holding down the power button until the green light turns on. In about one minute, the Installer Welcome screen should appear. The set up process is nearly identical to the EMMC drive set up process. Just click Next, Next, Next. Then enter your username and password and check the boxes for Auto Log in and using the same password for the root user. Then click Finish. Once set up is done, click Restart. Then after the restart, click on the Applications icon in the lower left corner to review the installed applications.
Change to a Light Theme
So our screen shots are easier to read, we will begin by changing our desktop theme. Click the Application Launcher. Then click Settings, System Settings.
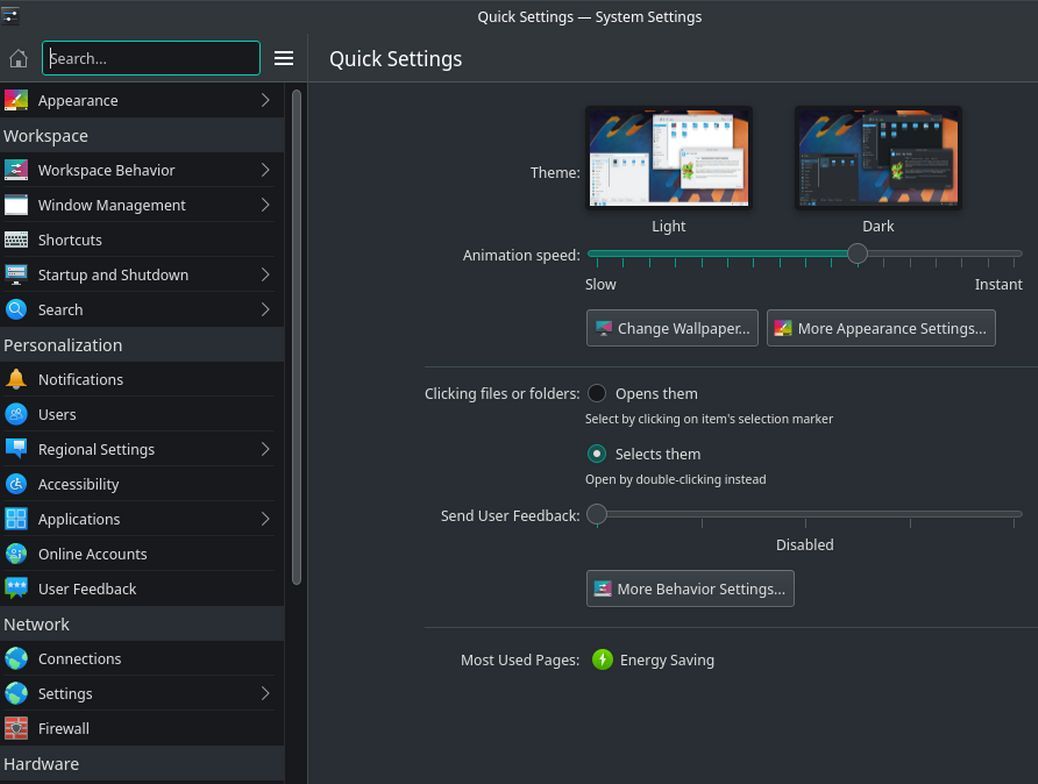
Click Appearance. Change the theme to Breath Light.
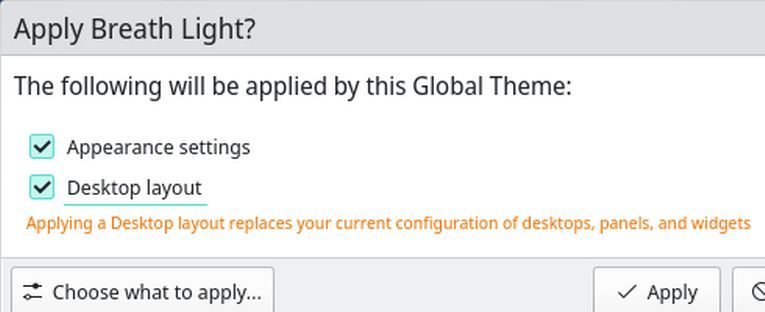
Check Desktop Layout and Appearance Settings. Then click Apply.
Increase the Font Size
We also need to increase the font size. Click Fonts:
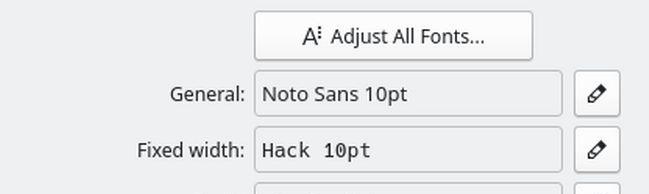
Increase the font sizes from 10 to 14. Then click Apply.
Install the Arimo Font Family
By default, Manjaro Plasma uses the Noto font family. We will replace this with the Arimo font family as Arimo is a metric equivalent of the Microsoft Arial font and is more readable in documents and for web pages. You can download this font by opening Firefox and going to this web page: https://createasecurewebsite.com/free-downloads/2-arimo-font-package
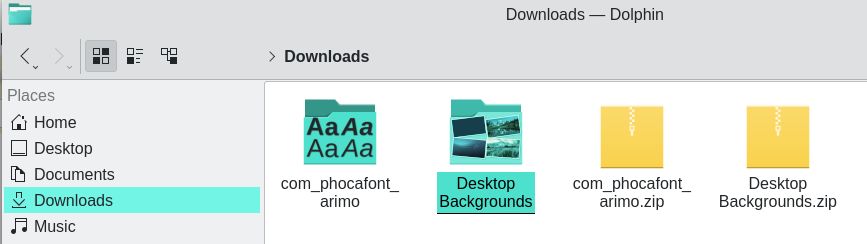
Click Download. Then open your Dolphin file manager and right click on the zipped file and click Extract Here:
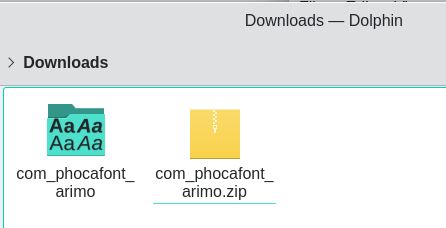
Then reopen System Settings, Appearance and click Font Management. Click Install from File. Then click the Downloads folder and click the Arimo folder to open it. Then select the Arimo Regular font and click Open. Repeat to install Arimo Italic, Arimo Bold and Arimo Bold Italic. Then click on the Back arrow to leave the Appearance page and go back to the Settings page.
Disable the Touchpad
The touchpad can create problems while we are typing. For example, accidentally touching it can cause the cursor to jump to someplace we do not want it while typing – despite the fact that is is set for Disable while typing. Since we will always be using a wired mouse, we will disable the touch pad completely. Scroll down to Hardware and click on Input Devices. Then click Touchpad. Then uncheck Device enabled. Then click Apply. Then click on the back arrow to go back to settings.
Change Power Management Settings
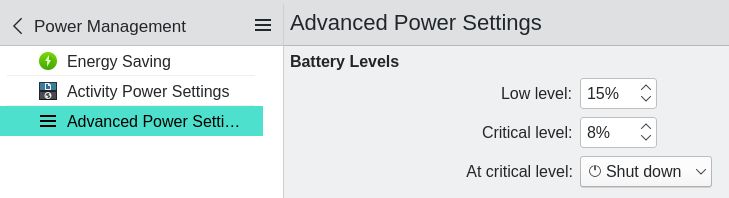
Click Power Management to open it. On the Energy Savings page, for the AC power tab, reduce screen brightness to 70%. Then uncheck Dim Screen and Screen Energy Savings. Change when laptop is closed from Sleep to Shutdown. Then click Apply. Then click on the Battery tab and repeat these settings. Then click Apply. Then click Advanced Power Settings. Increase Low Level to 15% and critical level to 8%. At critical level, change from Sleep to Shutdown. Then click Apply.
Then click on the Back arrow to return to Settings.
Disable Bluetooth
Click Bluetooth. If you are not using Bluetooth devices, click Disable Bluetooth. This will help with both the WIFI and Battery. Then close Settings.
Enable your WIFI Connection
If you have a wireless (Wi-Fi) connection you can enable your wireless network. This is useful even if you have an Ethernet connection in case something brings down the Ethernet connection while doing an update. Click on the Networks icon. Then select your WIFI connection and enter your password. Then click Connect.
Update Software
In the right side of the bottom panel, click on the Up arrow. Then click Install Updates. This process will take several minutes.
Personalize your Desktop Background Image
Right click on the Desktop and click Configure Desktop and Wallpaper.
Click Get New Wallpapers. Select a category such as Nature. Scroll down the page to see if there are any wallpapers you like. Then hover your cursor over the image and click Install. Then close the screen and click on the Image to make it the default Desktop image. Then click Apply and OK.
Install your own custom background image
You can load any image you want to your file manager. If the image you want is on the Internet, use Flameshot to capture it and paste it into a Libre Writer document (which we will install in our next article). Then right click on the image and click Compress to change the DPI to 150. Then save the image. You can then resize and crop your custom image to 1920 pixels wide by 1080 pixels high with a program called Gthumb (which we will explain how to install in our third article). Then create a Desktop Backgrounds folder with your file manager and add the image to this folder. Then right click on the Desktop and click Configure Desktop and Wall paper. Then click Add Image to add it as an option. Then click on the custom image and click Apply and OK.
Create a Background Image Slideshow
If you have several images you would like to rotate as desktop background images, you first need to compress each of them with Libre Writer. Then resize and crop each of them to 1920 by 1080 with Gthumb. Then place each of the resized images into your Desktop Backgrounds folder. To see an example of this, go to the following web page and download this zipped folder of 20 background Images: https://createasecurewebsite.com/free-downloads/4-20-free-nature-background-images
Right click on the zipped folder and click extract here.
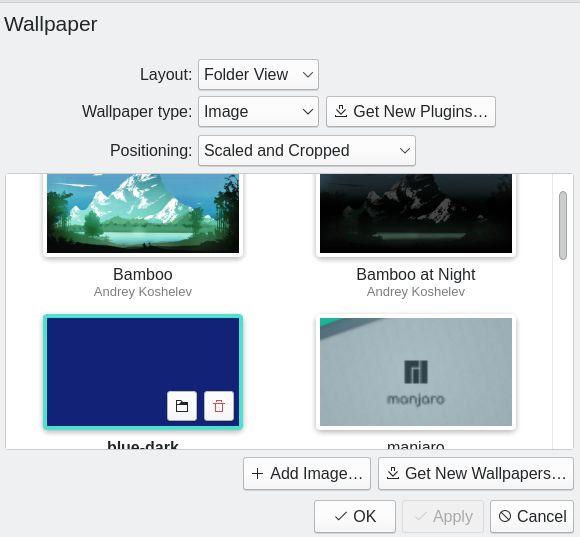
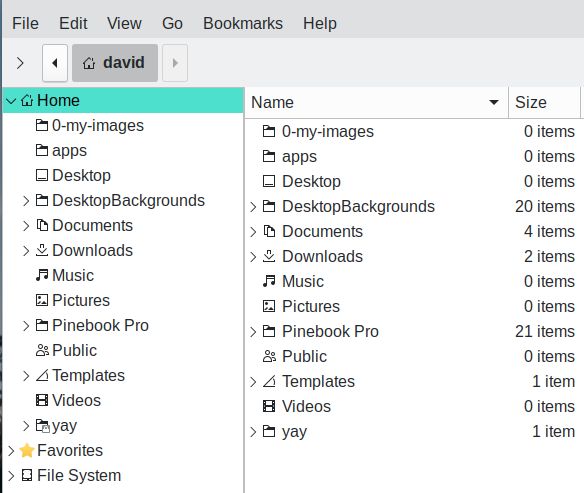
Then drag the Desktop Backgrounds folder to your Home folder. Then right click on the Desktop and click Configure Desktop and Wall Paper. Click Add Image. Then select your Background Images folder and hold down the control key while selecting each image you want. Then change the Wallpaper Type to Slideshow. Change the Order from Random to Alphabetical. Change the time from every 15 minutes to every 2 minutes.
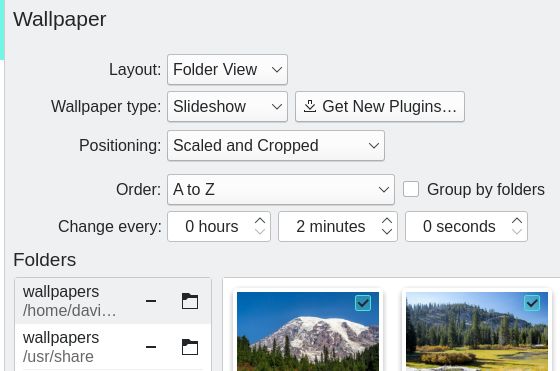
While the default Plasma images can not be deleted, they can be unchecked so that they do not show in the slideshow. Uncheck any images you do not want in your slideshow. Then click Apply and OK.
Install and Configure a Better File Manager
The default Dolphin file manager has several limitations. It is useful to have more than one file manager. Go to Settings, Add Software and type Nemo in the search box. Then select Nemo and click Download and apply. Check all the dependencies and click Apply. Then click Apply. When finished, close the Software Manager. Unpin the Dolphin File Manager from the bottom task bar. Then Then click Utilities Nemo to add it to the bottom task bar. Then click Nemo to open it. Click Edit Preferences and change it to List and Tree View. Right click and add folders called 0-my-images and apps.
Then close the file manager.
What’s Next?
This completes the initial set up of our Pinebook Pro. In our next article, we will install and simplify LibreOffice.