Workspaces are extra desktops or virtual monitors that you can rotate between. Workspaces are a great way to organize your work when you have a bunch of windows, applications and documents all open at the same time. If these were all on the same desktop, you would have a hard time moving between them all. By having several desktops, you can divide the documents and applications among them so there are only a couple of documents or applications on any given desktop.
To have more than one desktop in the Mate version of Linux Mint, you need to add a tool called Compiz - and unfortunately, this tool can create all kinds of problems. Linux Mint Cinnamon however, integrates Workspaces directly into its operating system - making the whole process much more stable. Linux Mint creates four workspaces by default, but you can add more and switch between your workspaces pretty easily. The workspaces in Linux Mint are persistent. Once created, these workspaces will be always there even after the next boot.
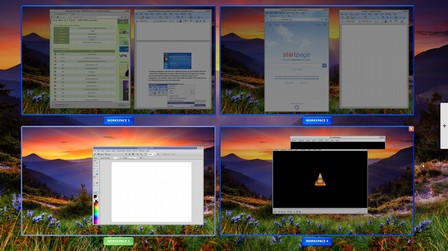
Linux Mint Cinnamon doesn’t have a workspace switcher by default. We will add a Workspace Switcher. Right click on the panel and select Add Applet to Panel. Then select Workspace Switcher and click Add to Panel. Workspace Switcher shows four boxes in the panel. Here is what it looks like with different applications open in all four workspaces:

If you need more than four workspaces, you can add them by right clicking on the Workspace Switcher.
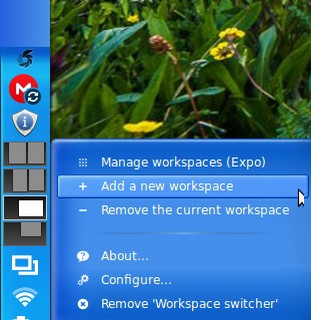
You can also add a Workspace by clicking on Manage Workspaces - which will display a screen of all of your Workspaces. Then click on the plus sign on the right edge of the screen:
Activating workspaces will add some additional options to each window title bar’s context menu. Right-click a window’s title bar and you’ll find options for moving that window between different workspaces or making it appear on all workspaces. For example, open a new Libre Writer document. Then right click on the Title Bar at the very top of the document.
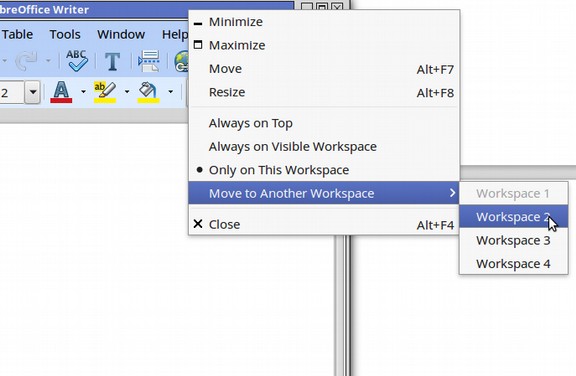
If we click Always on Visible Workspace, the document will move from one workspace to the next whenever we click on a new workspace.
The next issue is now that we have all kinds of windows open in four different workspaces, how do we remember which windows or applications are open in which workspaces? The solution to this problem is to add the Window Quicklist applet, so we can track which windows are open on which workspace.
Right click on the side panel, then add the Windows Quicklist applet. Note that the Window list applet is already active by default. But it only shows the applications open in the current Workspace.
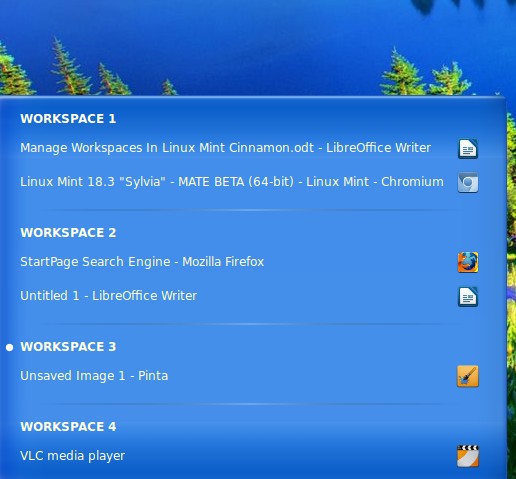
By contrast, Windows list brings up a list of all applications organized by their workspaces. We will keep the Windows list applet because it is good for switching between a small number of Windows. But the Windows Quicklist Applet is a much better tool if you have several documents open at the same time. To view which documents and applications are in which workspaces, left click on the All Windows Icon in the side panel.
How to Snap and Edge Tile a Window in Linux Mint Cinnamon
Cinnamon also provides for Window Edge Tiling and Snapping. Edge-Tiling is the action of putting your cursor in the title bar and moving it to the side until the cursor reaches the side. A gray box called a HUD will appear “snapping” the window to the side half of the screen. To enable this, go to Settings, Window Tiling and click ON. To snap a window into place, move it towards a side. To unsnap a window, simply use the cursor to pull the window title bar away from the snapped edge. Cinnamon has long allowed edge tiling - but it was limited to just half the screen. Recently, Cinnamon added the ability to resize the document in its snapped position - making it narrower or wider. You can then snap a different window to the other side of the screen if you want it to completely fill the space remaining from the “snapped” window. You can then resize the snapped window until you're happy. The side of the other window will magically adapt to fit the remaining space. This will allow you to more efficiently use all the space on your desktop. Naturally, this works best by only having two windows per desktop. So if you have 8 documents or applications open at the same time, you might want to use all four workspaces with two documents or applications per workspace. Here is what this looks like after clicking on the Manage Workspace Expo button in order to display all four workspaces on the same desktop:

How to Use Mint Rollups
Add Shading to Roll Up and Down a Window
Have you ever had several documents open in order to transfer information between them - and wanted an easy way to show all of them and click between them while staying in the same workspace? One way you can manage multiple windows is by stacking the windows diagonally so that all the title bars are visible.
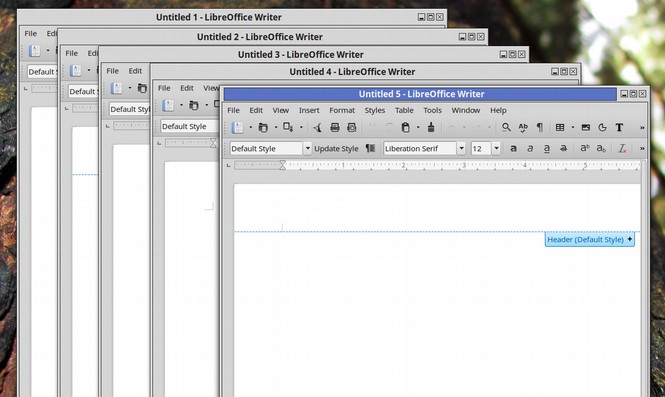
Click on a title bar to select that document window. The problem with this method is that if you are not very careful, some documents will completely cover other documents turning your desktop workspace into a complete mess. A better way to manage several documents in the same workspace is to use a feature that Mint calls Shading to roll windows up and down by double clicking on the title bar. Here is that this looks like:
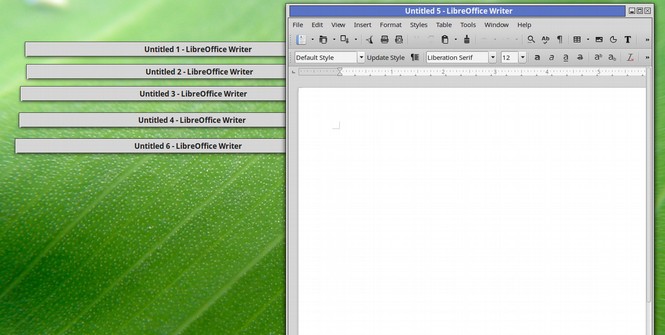
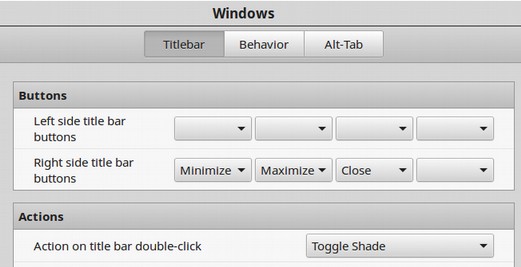
This shading feature is not enabled by default. Instead when you double-click the title bar of a window, the default setting is to maximize the window into full screen. Since there's already a maximize button in the title bar, a better use for double clicking on the title bar is to use it to roll the window up or down. To make this change, click on the Mint menu, then click on the Settings icon. Then in the Preferences section, click on Windows. On the Title bar tab, for “Action on title bar double-click” select Toggle Shade.
Then close Settings and open one or more document to test Window shading. Now you can roll up a window by double-clicking its title bar, and roll it down by double-clicking the title bar again.
What’s Next?
In the next chapter, we will take a close look at improving Linux Security.